Meta Pixel and UTM Tracking
Swipe to show menu
Before running Meta ads, it's essential to set up proper tracking to understand what users do after clicking your ad. This tutorial walks you through how to install the Meta Pixel and create UTM-tagged URLs so you can track conversions and traffic sources accurately.
First, you'll create your Pixel in Events Manager by selecting "Connect Data", choosing "Web", naming your Pixel and connecting your website.
Pixel + UTM work together: Pixel tracks user actions, UTM shows traffic source in analytics.
Once created, let's install it on your website.
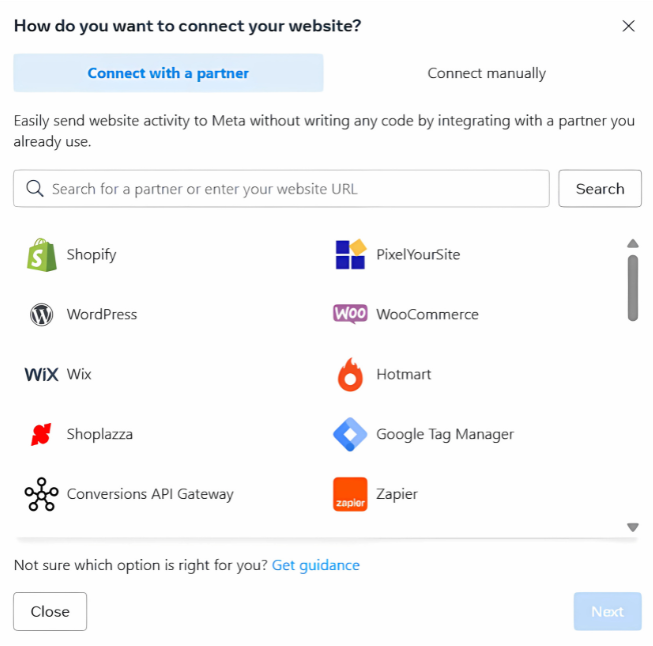
Option 1: Partner Integration
If you're using platforms like Shopify, WordPress or any other possible partner integration:
- Choose your partner;
- Follow the instructions to connect the pixel, usually this is as simple as pasting your Pixel ID into a plugin or integration field.
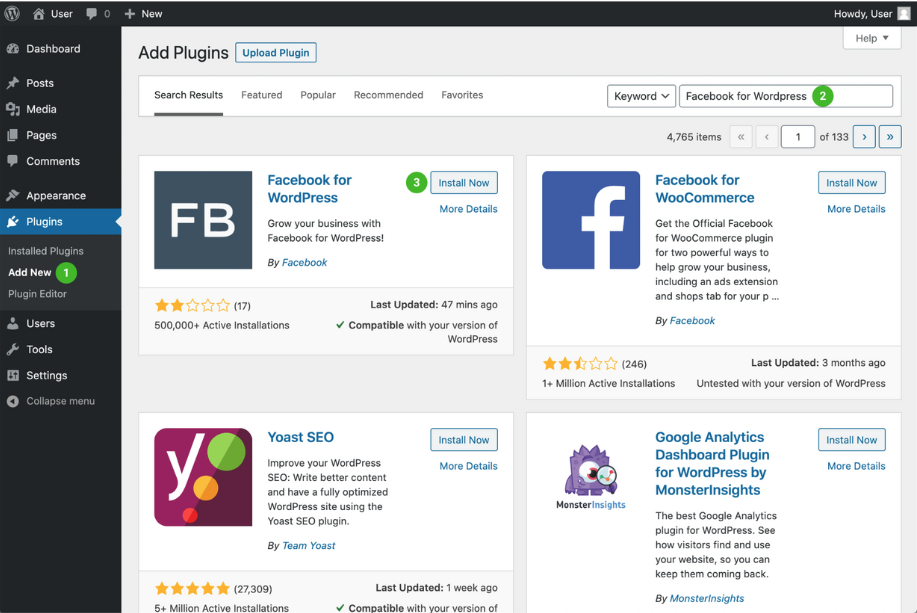
If you're using Wordpress, for example:
- Click on "Plugins", then "Add New", then search for and choose "Facebook for Wordpress";
- Click on the "Connect with Facebook" link that will direct you to the Business Manager.
Option 2: Installing Manually
1. Choose "Install code manually";
2. Copy the Pixel base code.
It'll look something like this:
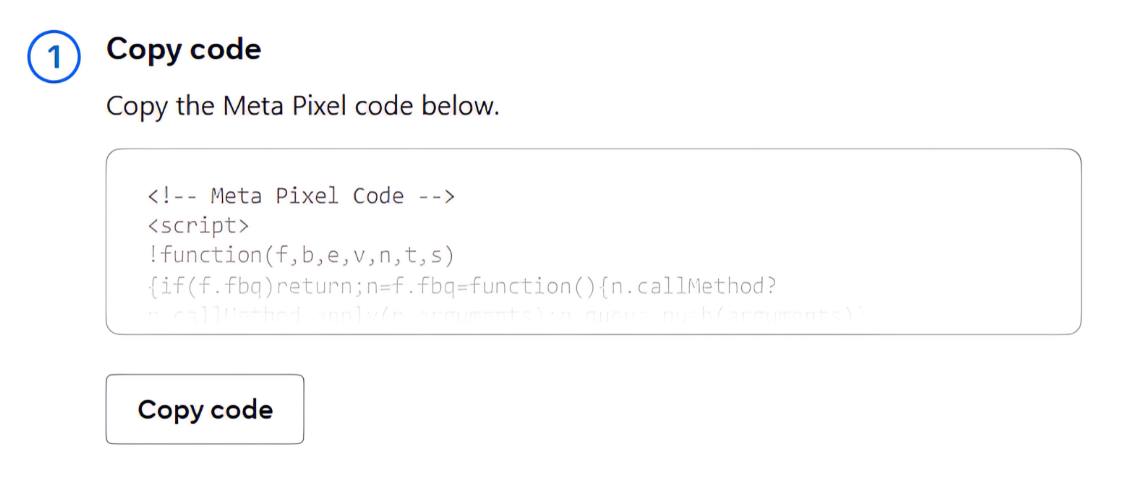
3. Paste it in the <head> section of every page of your website. You can do this by accessing your theme files or by using Google Tag Manager.
In Google Tag Manager, create a new Custom HTML tag, paste the Pixel code, set the trigger to All Pages, and publish the changes.
A more detailed step-by-step to this:
- Click "Tags" in the menu on the left;
- Click "New";
- Click "Tag Configuration" and select "Custom HTML";
- Paste the code snippet into the HTML field;
- Insert the code under the "insert head tags code below" title in the tag manager plugin page.
Once installed, verify it using the Meta Pixel Helper Chrome extension. Visit your site and click the extension icon — if the Pixel is firing, you'll see confirmation. If not, double-check the placement and setup. You can download Meta Pixel Helper in Chrome Store.
Next, you'll create UTM parameters to track where your traffic comes from. Use the Google UTM Builder to build a tagged link. Input your landing page, then fill in the fields like:
- Source:
facebook - Medium:
cpc - Campaign Name:
spring_sale - Content (optional):
image1
This will generate a URL like:
https://yourwebsite.com/offer?utm_source=facebook&utm_medium=cpc&utm_campaign=spring_sale&utm_content=image1
Paste this UTM link in your ad under the Website URL field at the Ad level inside Ads Manager. When users click, your Pixel will track their actions, and tools like Google Analytics will show you detailed insights using your UTM labels.
1. What is the main role of the Meta Pixel?
2. Where should the Pixel base code be placed when installing manually?
3. What is the purpose of UTM parameters in Meta ads?
Thanks for your feedback!
Ask AI
Ask AI

Ask anything or try one of the suggested questions to begin our chat
