Notice: This page requires JavaScript to function properly.
Please enable JavaScript in your browser settings or update your browser.
Lære Starting the App | Section
Build a Real App with React Native

Starting the App

Stryg for at vise menuen

Now you will start building a real app.

At first, the app will be simple. You will create one screen and display a list of items using static data. Later, you will replace this with real data and add more features.

First, define some mock data:

const items = [
  { id: 1, title: 'First item' },
  { id: 2, title: 'Second item' },
  { id: 3, title: 'Third item' }
];

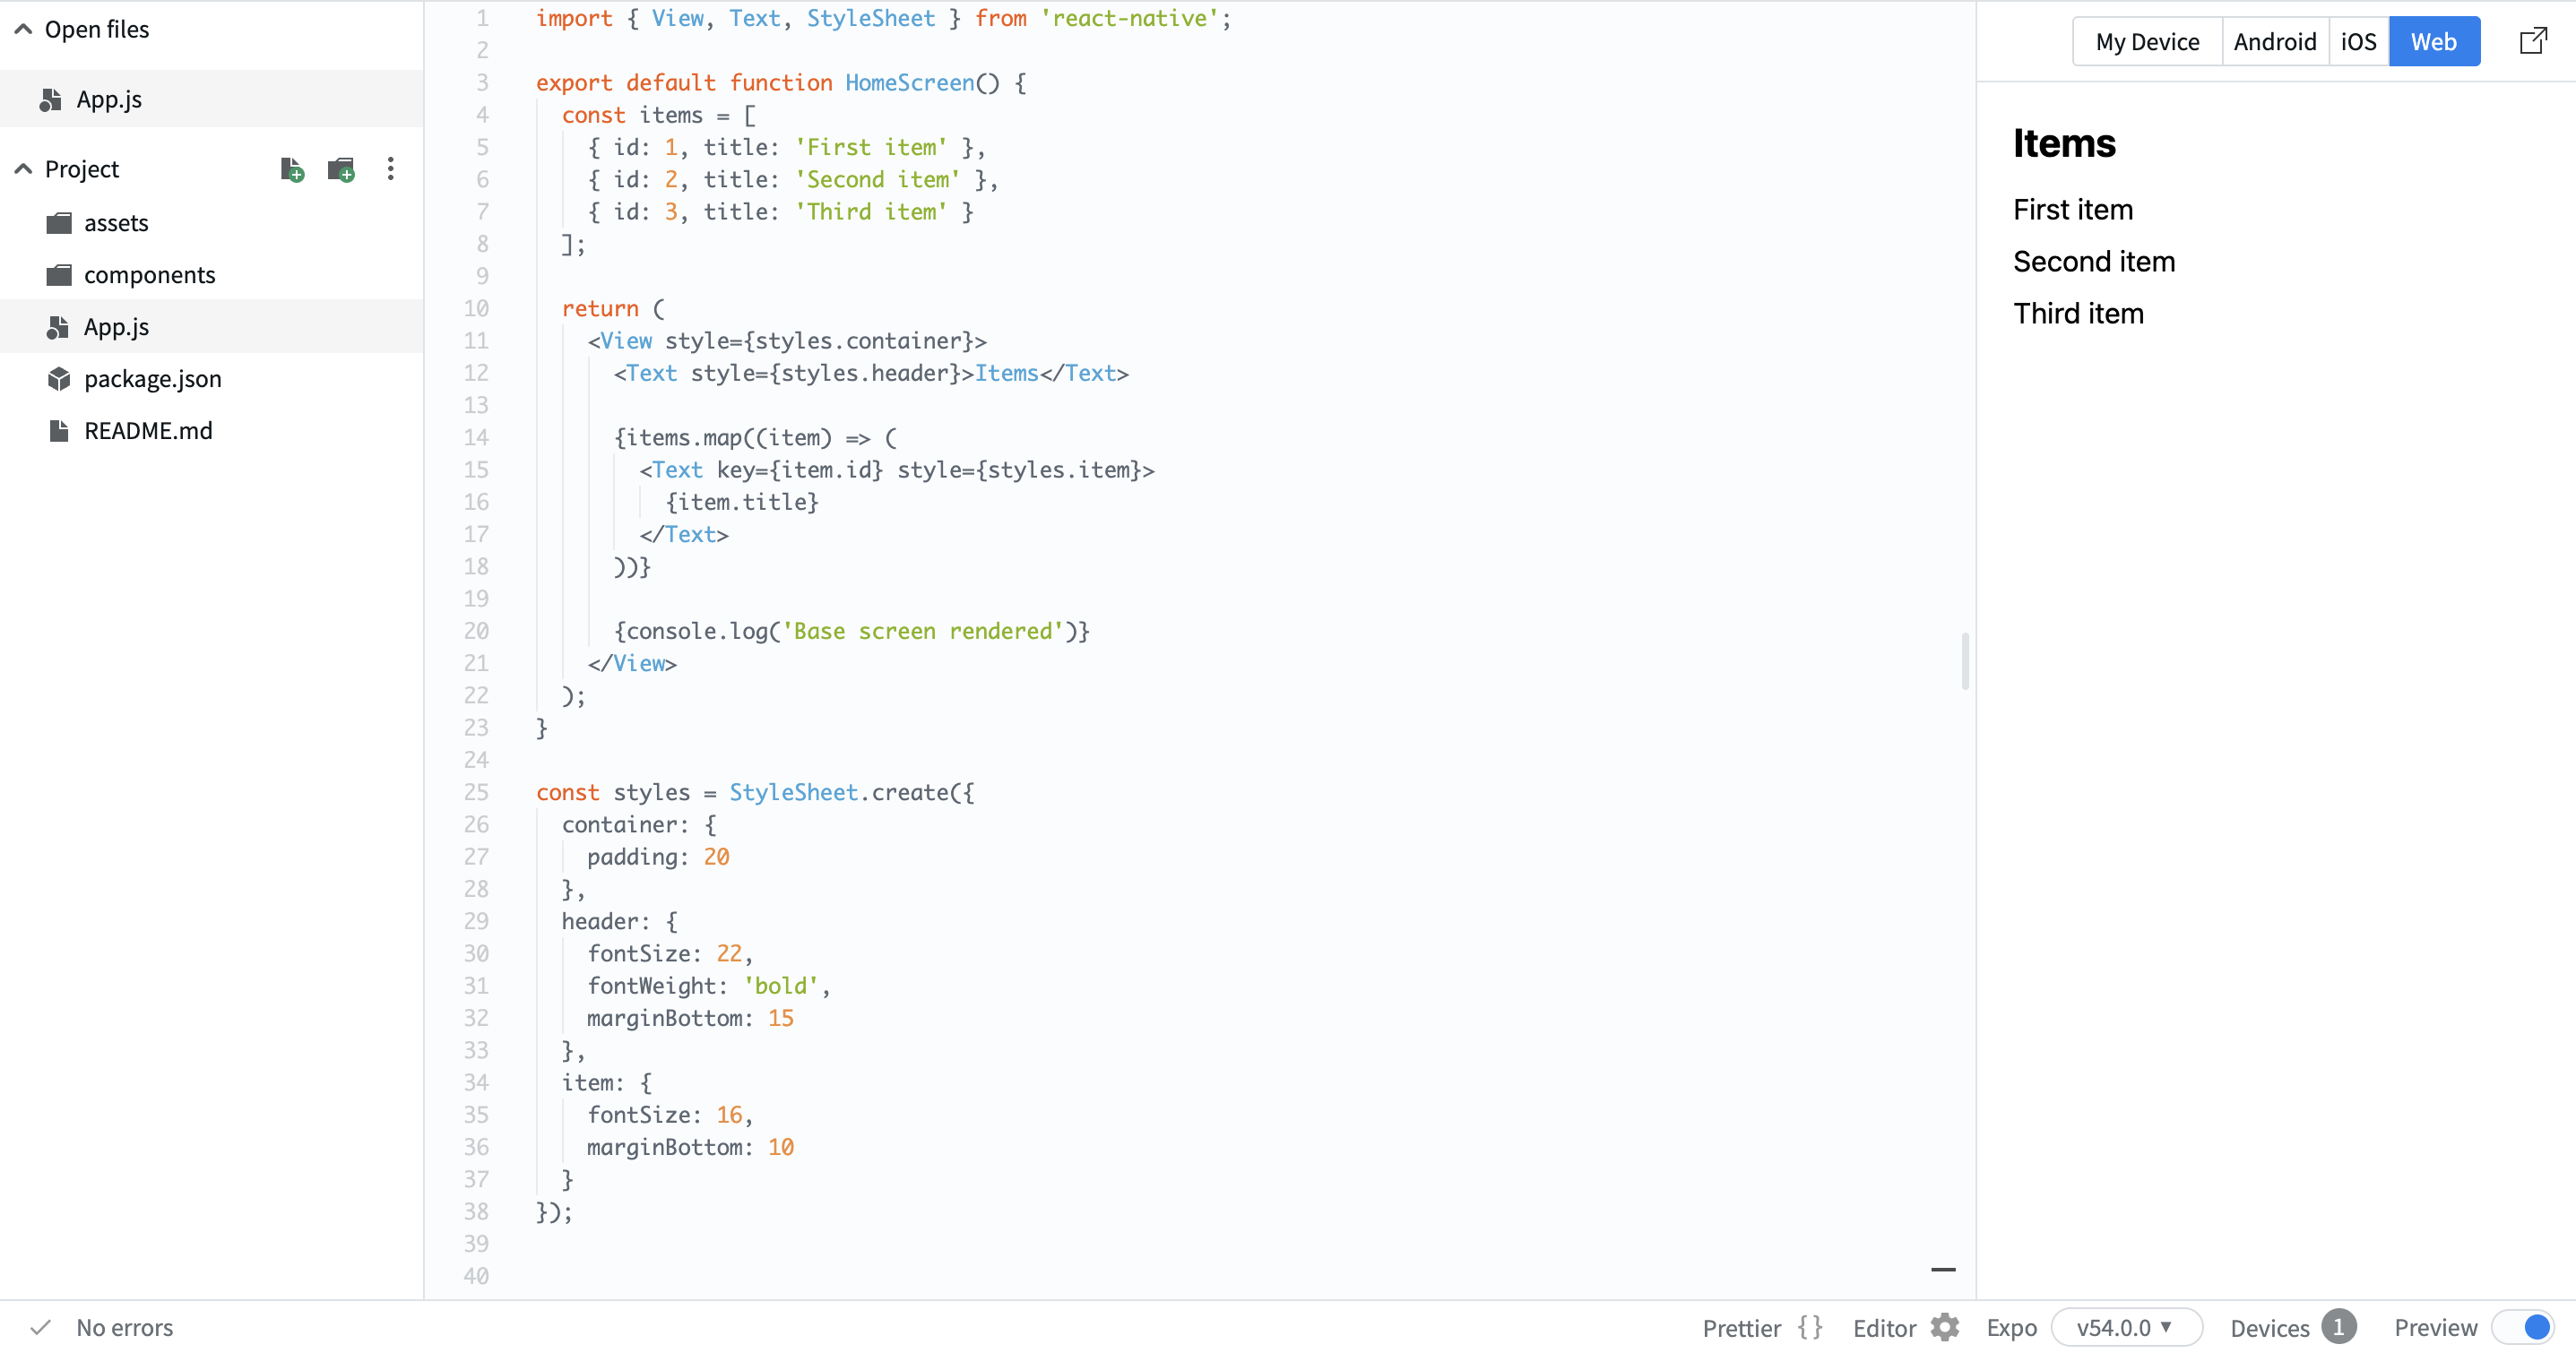
Now render this data on the screen:

import { View, Text, StyleSheet } from 'react-native';

export default function HomeScreen() {
  const items = [
    { id: 1, title: 'First item' },
    { id: 2, title: 'Second item' },
    { id: 3, title: 'Third item' }
  ];

  return (
    <View style={styles.container}>
      <Text style={styles.header}>Items</Text>

      {items.map((item) => (
        <Text key={item.id} style={styles.item}>
          {item.title}
        </Text>
      ))}

      {console.log('Base screen rendered')}
    </View>
  );
}

const styles = StyleSheet.create({
  container: {
    padding: 20
  },
  header: {
    fontSize: 22,
    fontWeight: 'bold',
    marginBottom: 15
  },
  item: {
    fontSize: 16,
    marginBottom: 10
  }
});

Here:

  • You created a simple list using mock data;
  • You used map to render multiple items;
  • You structured the screen with a header and list.

This is your starting point. Now you have a basic screen that displays data. In the next steps, you will expand this into a real app.
Var alt klart?

Hvordan kan vi forbedre det?

Tak for dine kommentarer!

Sektion 1. Kapitel 1

Spørg AI

expand

Spørg AI

ChatGPT

Spørg om hvad som helst eller prøv et af de foreslåede spørgsmål for at starte vores chat

Starting the App

Now you will start building a real app.

At first, the app will be simple. You will create one screen and display a list of items using static data. Later, you will replace this with real data and add more features.

First, define some mock data:

const items = [
  { id: 1, title: 'First item' },
  { id: 2, title: 'Second item' },
  { id: 3, title: 'Third item' }
];

Now render this data on the screen:

import { View, Text, StyleSheet } from 'react-native';

export default function HomeScreen() {
  const items = [
    { id: 1, title: 'First item' },
    { id: 2, title: 'Second item' },
    { id: 3, title: 'Third item' }
  ];

  return (
    <View style={styles.container}>
      <Text style={styles.header}>Items</Text>

      {items.map((item) => (
        <Text key={item.id} style={styles.item}>
          {item.title}
        </Text>
      ))}

      {console.log('Base screen rendered')}
    </View>
  );
}

const styles = StyleSheet.create({
  container: {
    padding: 20
  },
  header: {
    fontSize: 22,
    fontWeight: 'bold',
    marginBottom: 15
  },
  item: {
    fontSize: 16,
    marginBottom: 10
  }
});

Here:

  • You created a simple list using mock data;
  • You used map to render multiple items;
  • You structured the screen with a header and list.

This is your starting point. Now you have a basic screen that displays data. In the next steps, you will expand this into a real app.

Var alt klart?

Hvordan kan vi forbedre det?

Tak for dine kommentarer!

Sektion 1. Kapitel 1
some-alt