Adding Navigation
Sveip for å vise menyen
Now we want to connect the two screens.
At this point, you already have:
- A home screen with a list;
- A details screen with a static layout.
The next step is to let the user move between them.
Step 1: Install Navigation
Before using navigation, you need to install the required packages.
Run:
npm install @react-navigation/native
npm install react-native-screens react-native-safe-area-context
npm install @react-navigation/native-stack
After installation, restart your project.
Step 2: Set Up Navigation
Now you can configure navigation in your app.
Example:
// App.js
import { NavigationContainer } from '@react-navigation/native';
import { createNativeStackNavigator } from '@react-navigation/native-stack';

import HomeScreen from './screens/HomeScreen';
import DetailsScreen from './screens/DetailsScreen';

const Stack = createNativeStackNavigator();

export default function App() {
  return (
    <NavigationContainer>
      <Stack.Navigator>
        <Stack.Screen name="Home" component={HomeScreen} />
        <Stack.Screen name="Details" component={DetailsScreen} />
      </Stack.Navigator>

      {console.log('Navigation ready')}
    </NavigationContainer>
  );
}
Step 3: Navigate Between Screens
Now update HomeScreen.js:
// screens/HomeScreen.js
import { View, Text, Pressable, StyleSheet } from 'react-native';

export default function HomeScreen({ navigation }) {
  return (
    <View style={styles.container}>
      <Pressable
        onPress={() => navigation.navigate('Details')}
        style={styles.item}
      >
        <Text>Open details</Text>
      </Pressable>

      {console.log('Home screen with navigation')}
    </View>
  );
}

const styles = StyleSheet.create({
  container: {
    padding: 20
  },
  item: {
    padding: 12,
    backgroundColor: 'lightgray'
  }
});
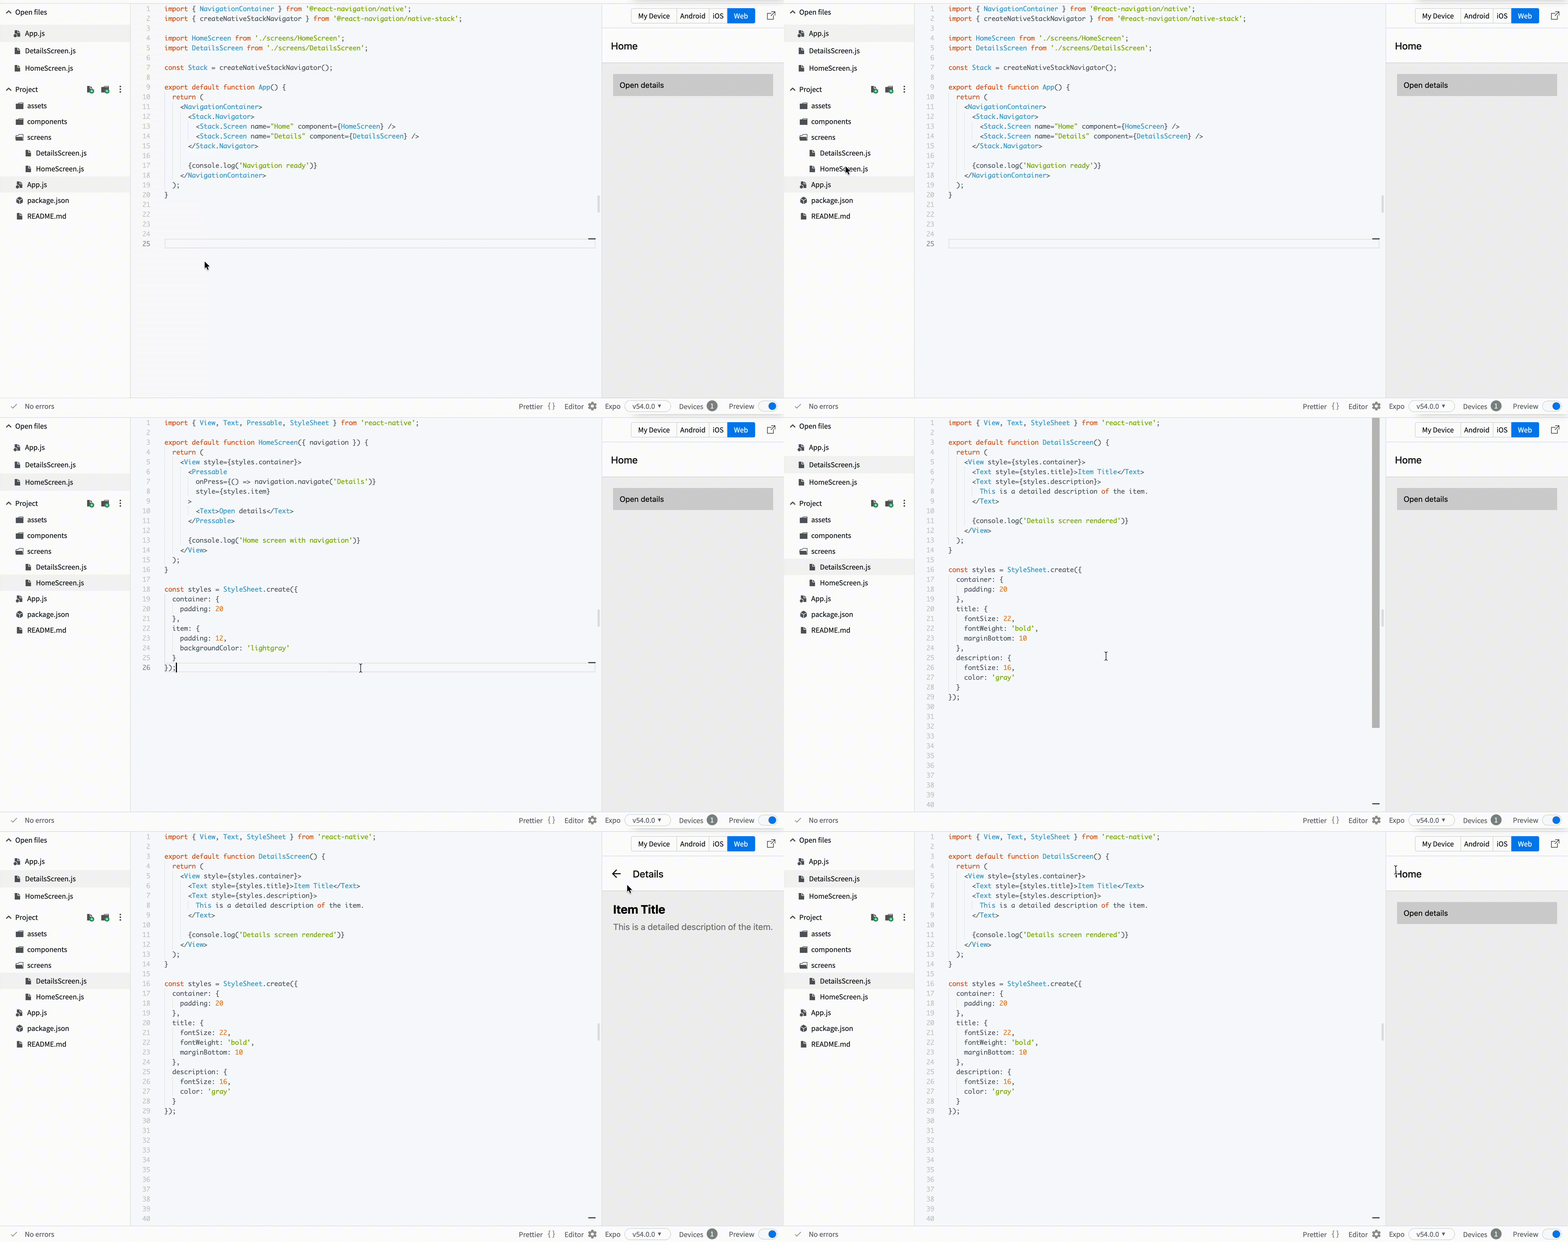
When the user presses the item, the app opens the Details screen.
This is the first moment when your app becomes multi-screen. You are no longer building static UI. You are building real app behavior.
Alt var klart?
Takk for tilbakemeldingene dine!
Seksjon 1. Kapittel 3
Spør AI

Spør AI

Spør om hva du vil, eller prøv ett av de foreslåtte spørsmålene for å starte chatten vår
Seksjon 1. Kapittel 3
