Installera WordPress
Svep för att visa menyn
Om du nyligen har köpt ditt webbhotell och kopplat en egen domän kan det ta upp till 24 timmar innan namnservrarna är helt uppdaterade över hela internet.
Installera WordPress steg för steg
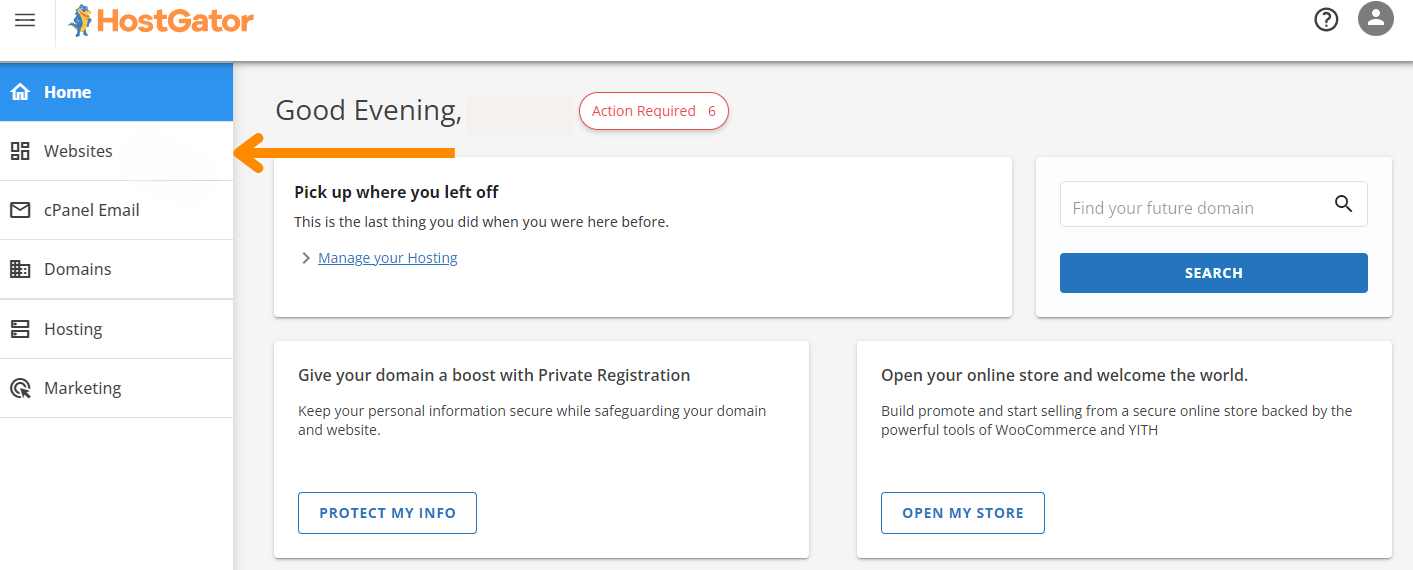
- Logga in på din HostGator Kundportal. Du hittar länken i ditt välkomstmail;
- Gå till fliken Webbplatser;
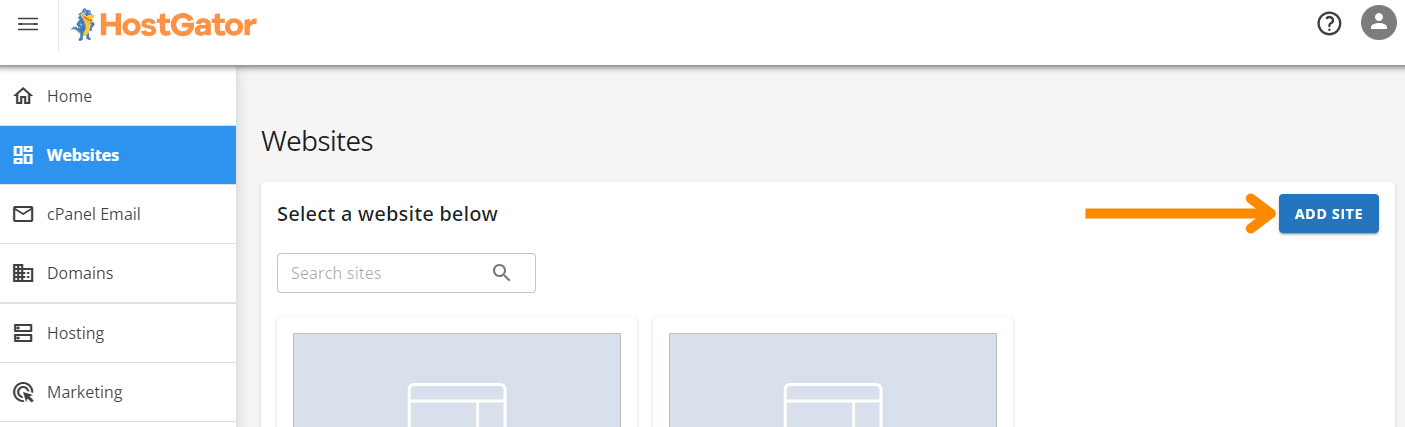
- Klicka på Lägg till webbplats;
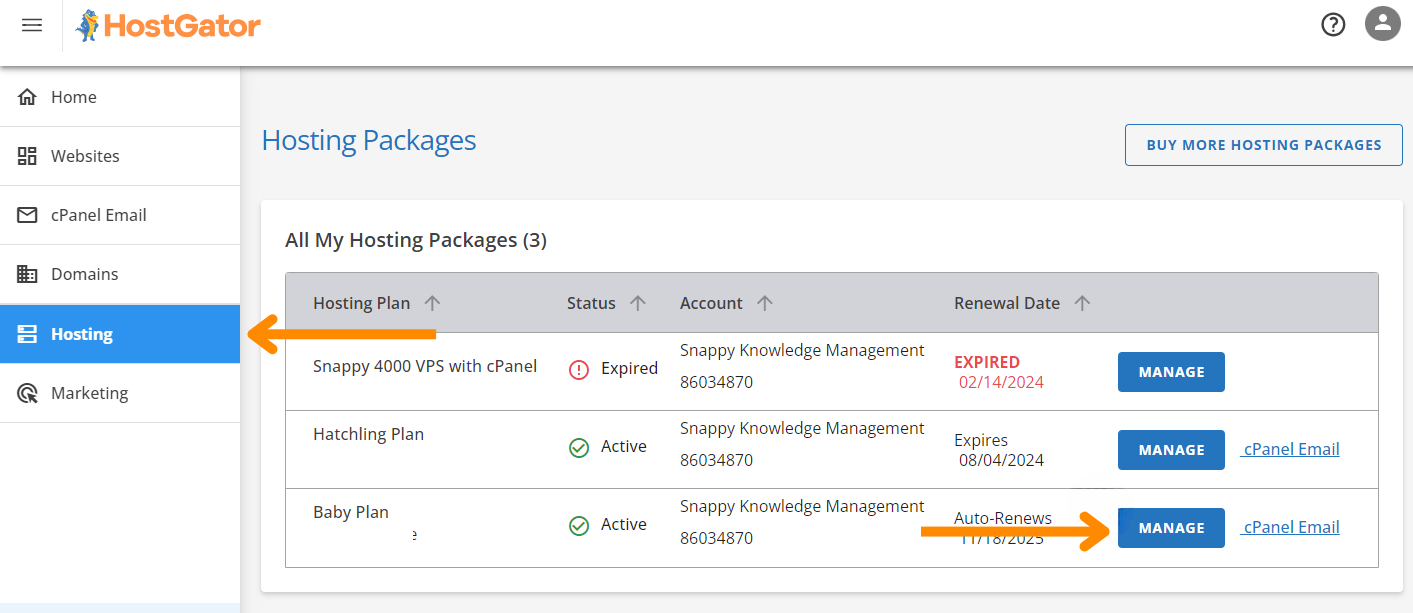
- Välj webbhotellspaket → klicka på Hantera;
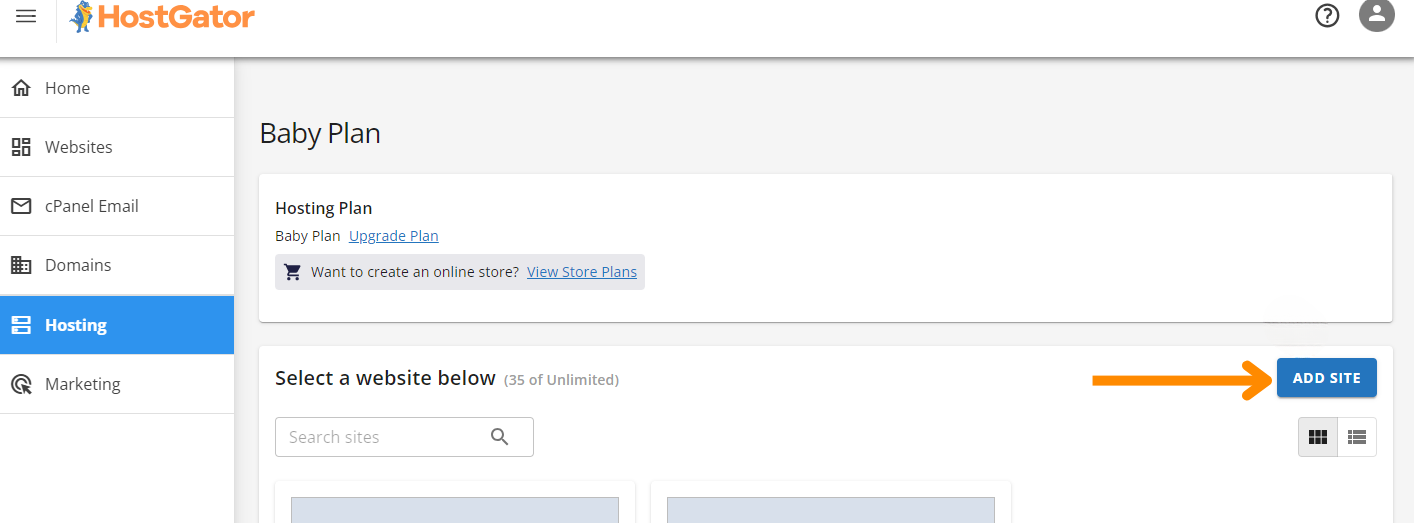
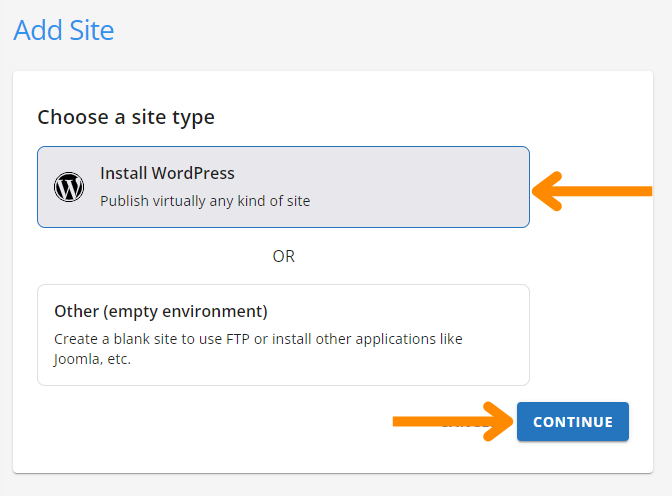
- Klicka på Lägg till webbplats igen, välj sedan Installera WordPress → Fortsätt;
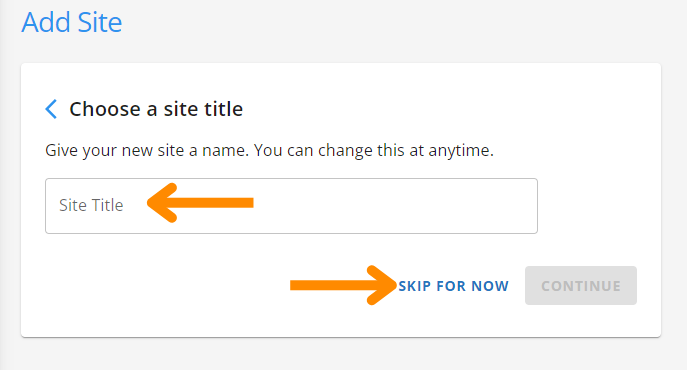
- (Valfritt) Ange en Webbplatstitel eller klicka på Hoppa över för tillfället;
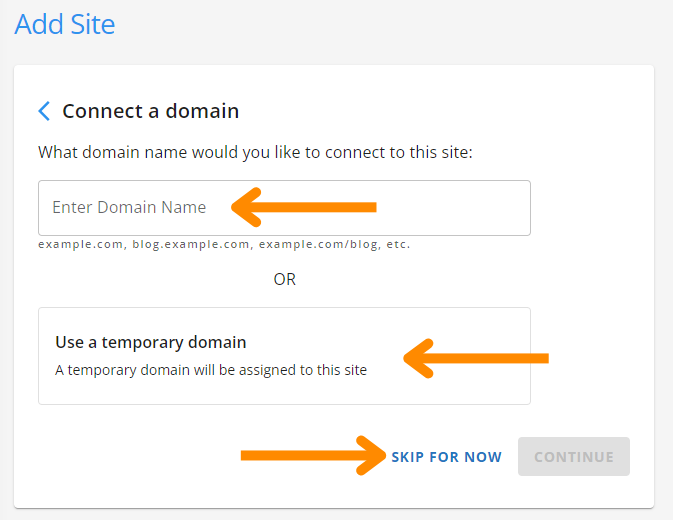
- Välj ett av följande alternativ:
- Anslut din domän (t.ex. yourproject.com);
- Använd en temporär domän;
- Hoppa över för nu.
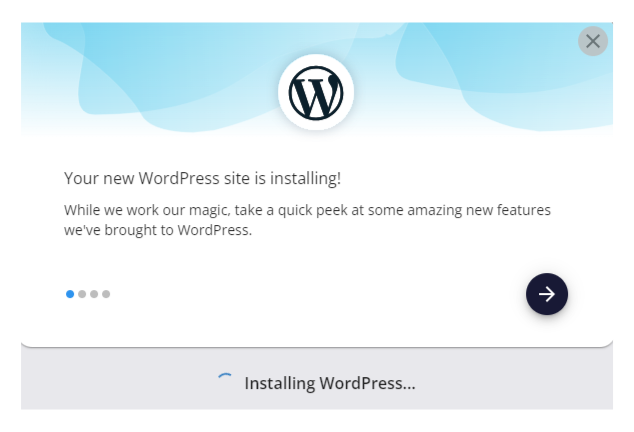
- WordPress börjar installeras automatiskt.
Så här får du åtkomst till din WordPress-panel
Du har två sätt att logga in:
- Via HostGator-portalen (rekommenderas). Gå till avsnittet Webbplatser och klicka på Redigera webbplats under din nya webbplats;
- Via din webbläsare. Gå till:
https://yourdomain.com/wp-adminoch logga in med det användarnamn och lösenord du angav vid installationen.
Vill du lära dig mer?
Om du behöver hjälp med att anpassa din WordPress-webbplats eller vill lära dig mer avancerade saker senare som säkerhetskopiering, säkerhet eller testmiljöer, besök: https://www.hostgator.com/help. Deras kunskapsbas innehåller massor av handledningar med skärmdumpar och steg-för-steg-instruktioner.
Var allt tydligt?
Tack för dina kommentarer!
Avsnitt 1. Kapitel 3
Fråga AI
Fråga AI

Fråga vad du vill eller prova någon av de föreslagna frågorna för att starta vårt samtal
Avsnitt 1. Kapitel 3
