Створення Спільного Компонента Макета
Свайпніть щоб показати меню
Створимо макет для всього застосунку. У цьому випадку ми створимо компонент, який допомагає переміщатися сторінками застосунку, а також надає можливість вийти з облікового запису (детальніше про авторизацію у наступних розділах).
Повернення до проєкту
Тепер згенеруємо файл layout.tsx для панелі керування. У папці /dashboard створіть новий файл з назвою layout.tsx та додайте до нього наступний код:
У цьому коді відбувається кілька ключових дій. Розглянемо їх детальніше:
- Ми підключаємо компонент
<SideNav />і робимо його частиною нашого макету. Будь-які компоненти, які імпортуються тут, стають частиною загального дизайну сторінки; - Компонент
<Layout />має пропchildren. Цей "нащадок" може бути як сторінкою, так і іншим макетом. Зокрема, сторінки, що знаходяться у/dashboard, автоматично розміщуються всередині<Layout />.
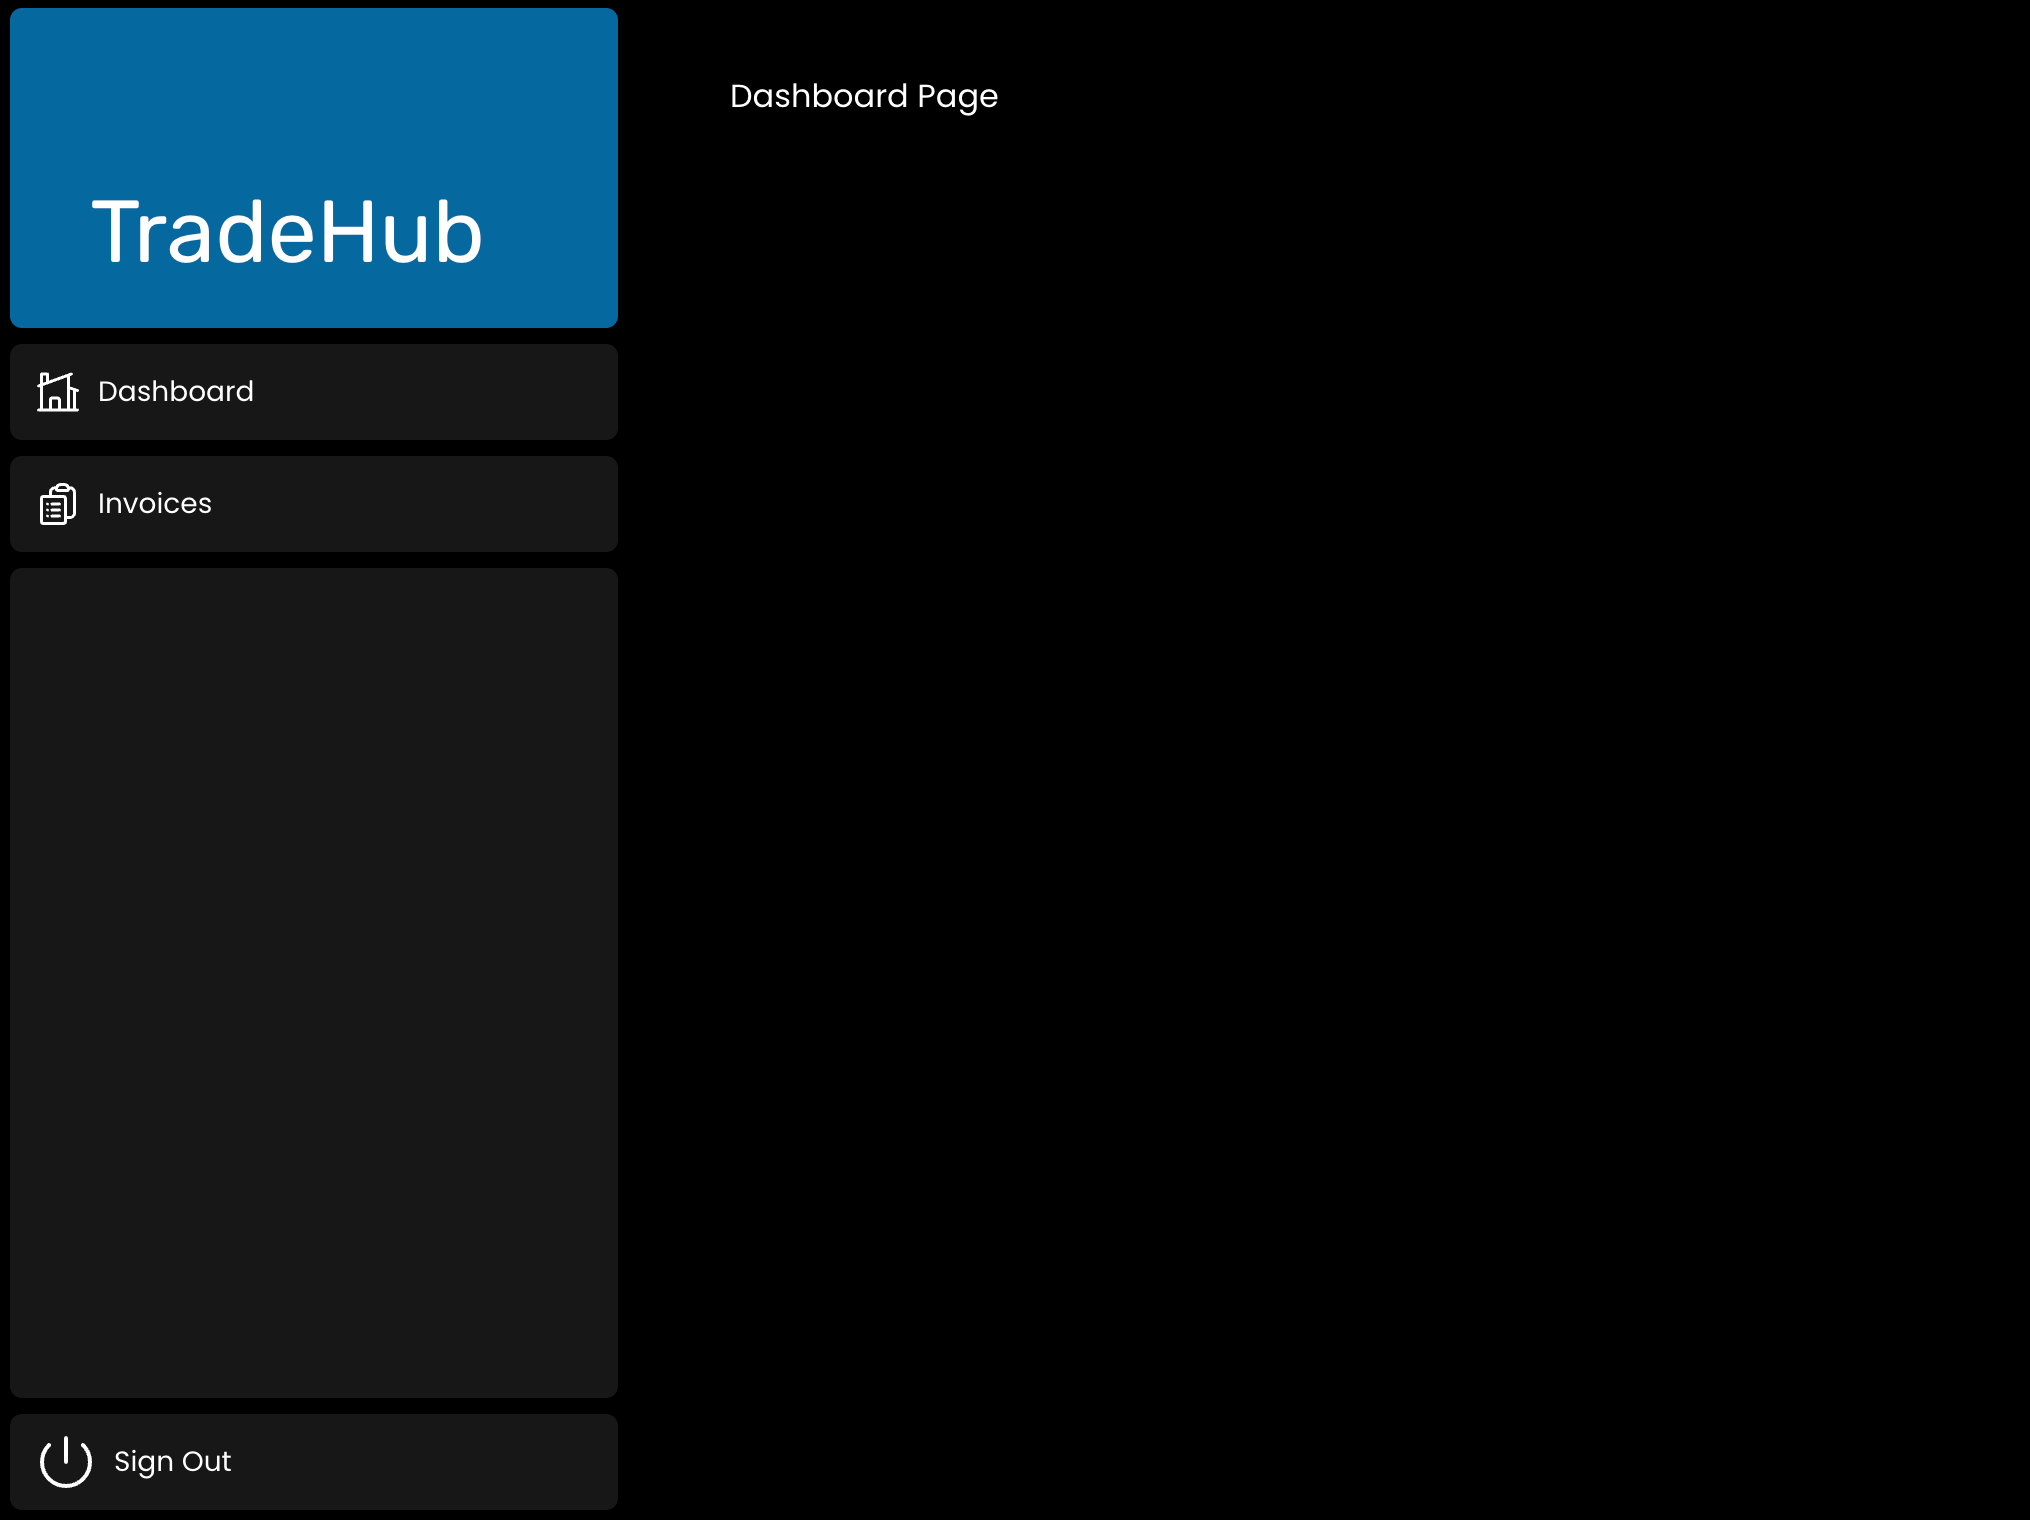
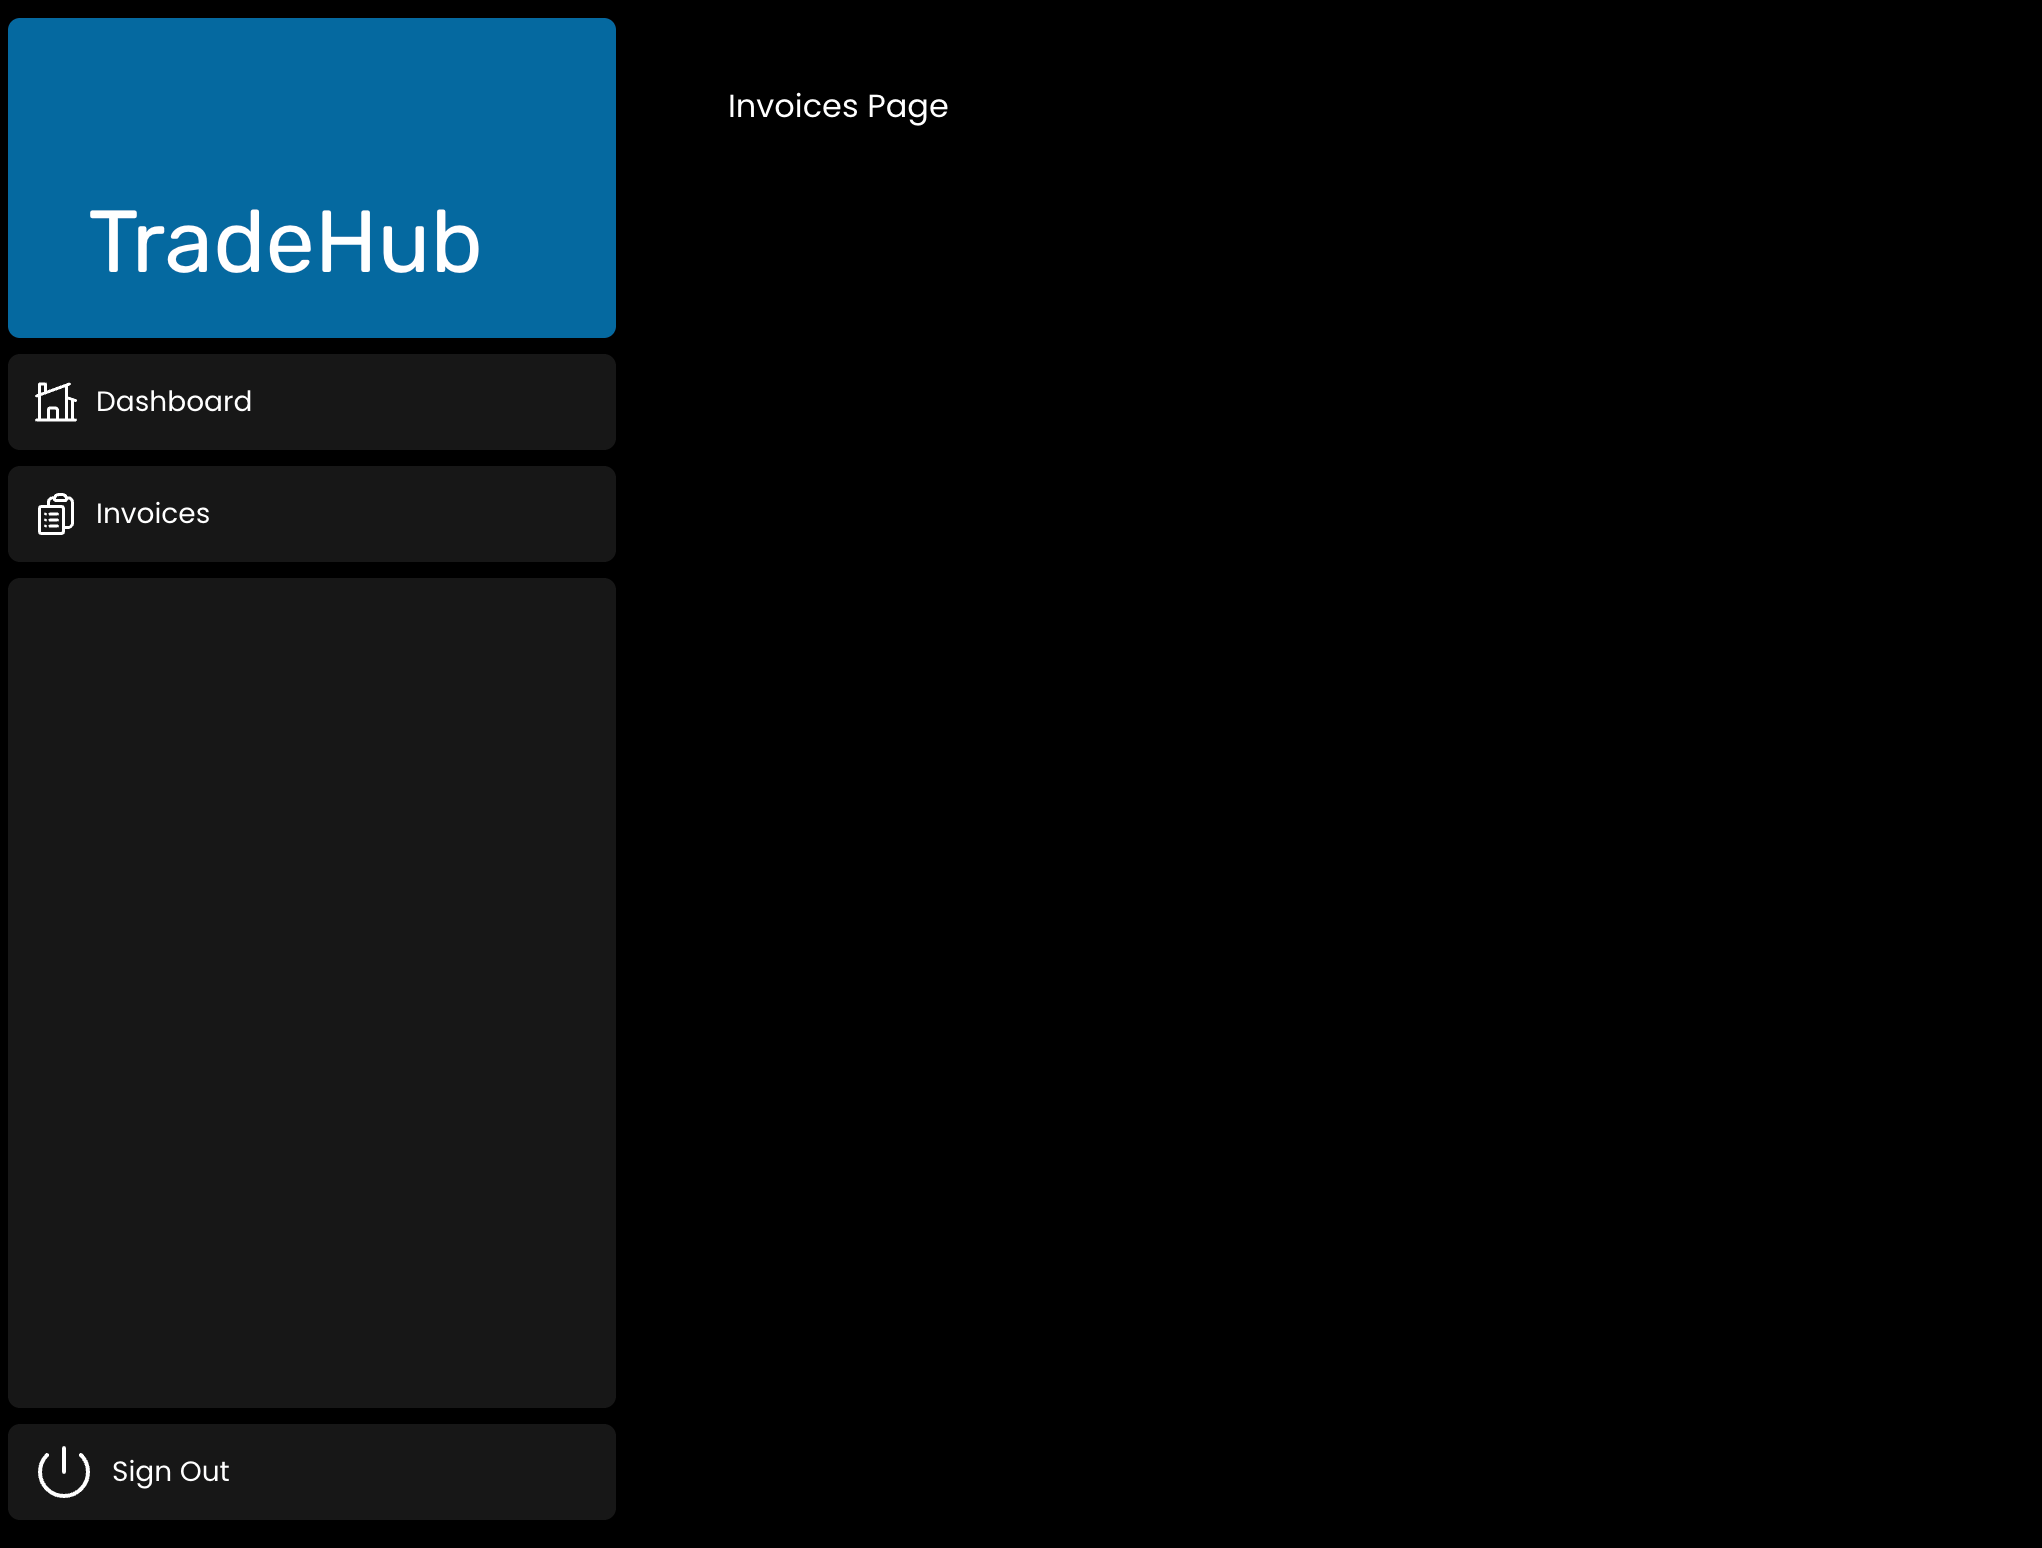
Тепер спробуйте перейти за посиланням http://localhost:3000/dashboard і переміщайтеся між сторінкою панелі керування та сторінкою рахунків.
Дякуємо за ваш відгук!
Запитати АІ
Запитати АІ

Запитайте про що завгодно або спробуйте одне із запропонованих запитань, щоб почати наш чат
