Creating Branches
Swipe to show menu
git branch
When working with branches in Git, you'll mostly use the git branch command. In fact, this command can be used for various purposes:
- Listing branches;
- Creating branches;
- Deleting branches;
- Manipulating branches (e.g., renaming branches).
Listing and Creating Branches
First, list all branches in the repository:
git branch

As you can see, the only existing branch is master, the default branch.
Its name may differ in your setup, so do not worry if it appears under another name.
Currently, new versions of Git tend to use main as the name for the default branch instead of master.
An asterisk (*) next to the branch name indicates that HEAD points to this branch, meaning you are currently on it.
To create a new branch, use the git branch command followed by the desired branch name:
git branch <branch_name>
Here, <branch_name> is the name of the branch you want to create.
Branch Naming Conventions
It's common to follow naming conventions for branches, such as using prefixes like feature/, bugfix/, or hotfix/ to denote the purpose of the branch. Consistent naming conventions make it easier to understand the role of each branch in the development process.
Example Workflow
Create a new branch named testing/some-tests and then list all branches:
git branch testing/some-tests
git branch
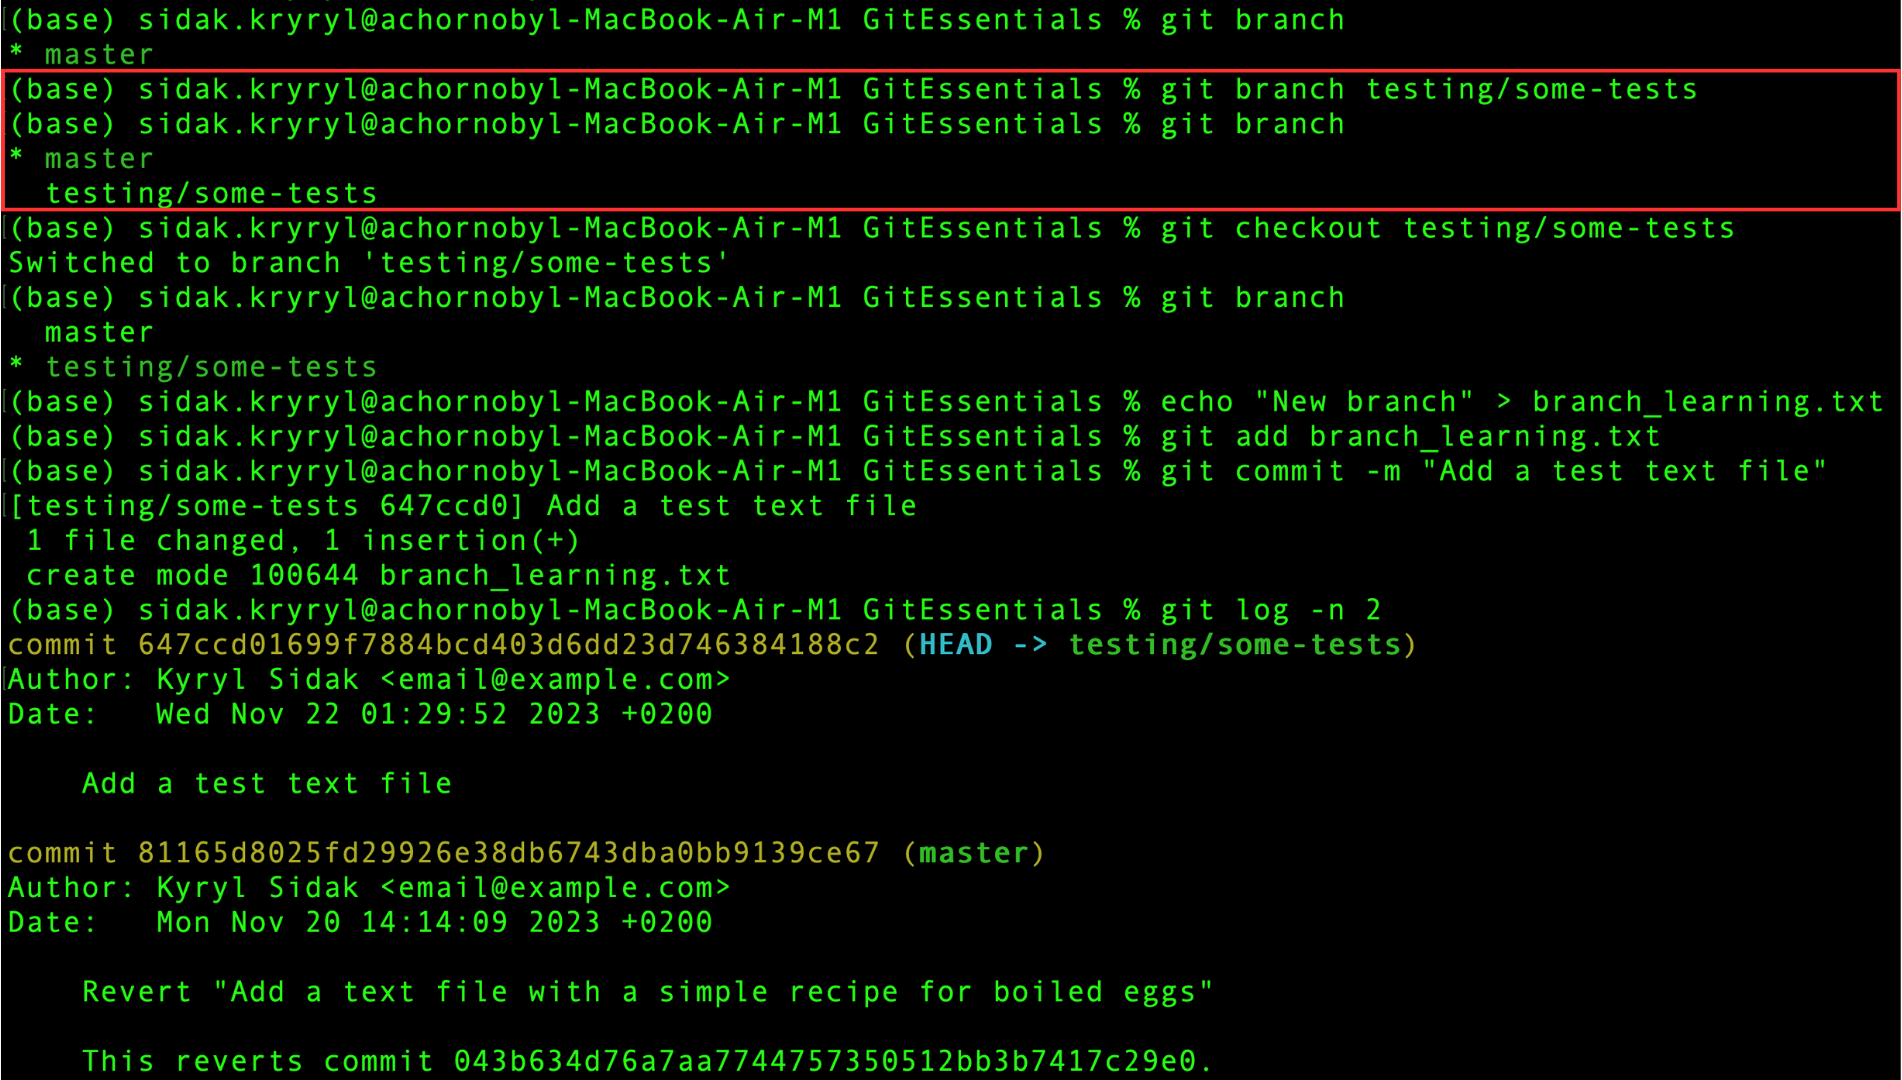
Switching between Branches
Currently, there are two branches.
Since the asterisk (*) is next to the master branch, HEAD still points to it.
However, HEAD is a movable pointer, so you can switch to another branch using the git checkout command:
git checkout <branch_name>
Here, <branch_name> is the name of the branch you want to switch to.
This command updates the working tree to match the selected branch, including both the files and the Git history.
Now switch to the newly created branch and list all branches:
git checkout testing/some-tests
git branch
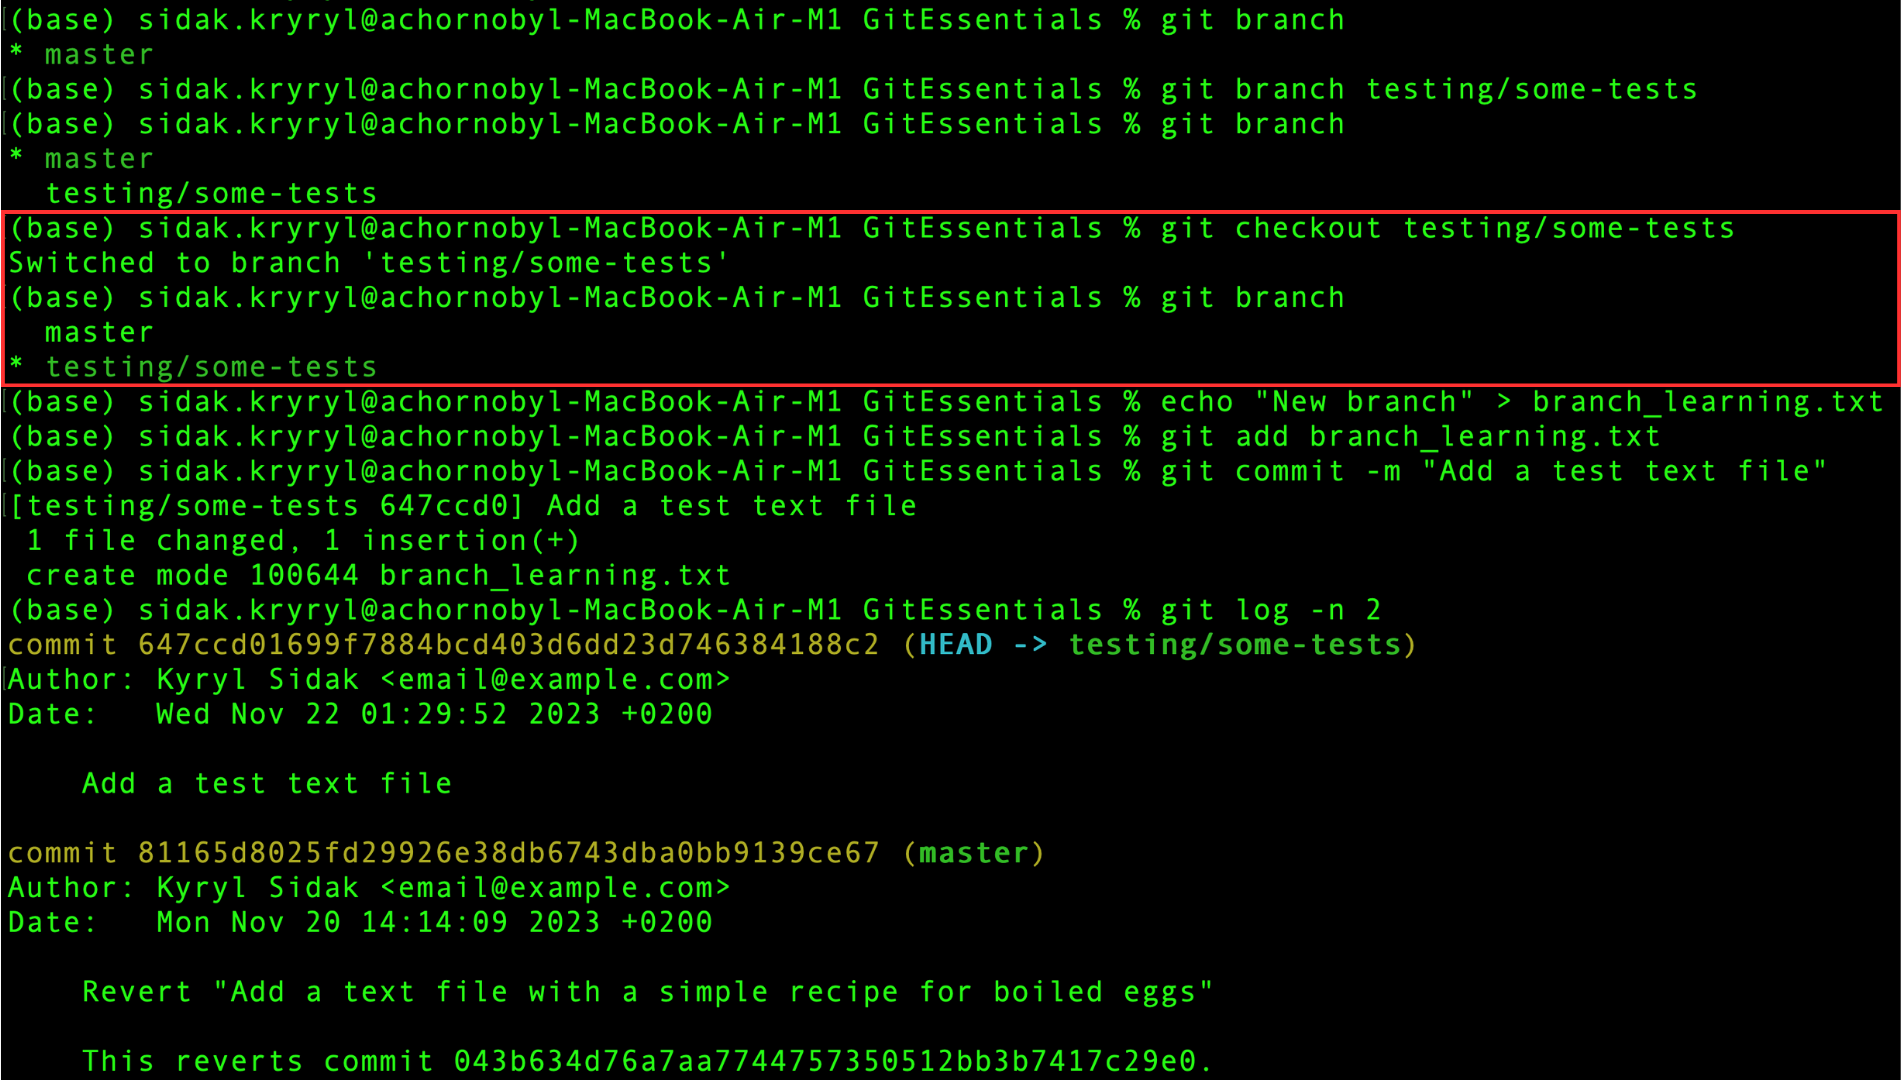
As you can see, the asterisk (*) is now next to the new branch, meaning you are currently on it (HEAD points to this branch).
To verify this, create a simple text file and commit it:
echo "New branch" > branch_learning.txt
git add branch_learning.txt
git commit -m "Add a test text file"
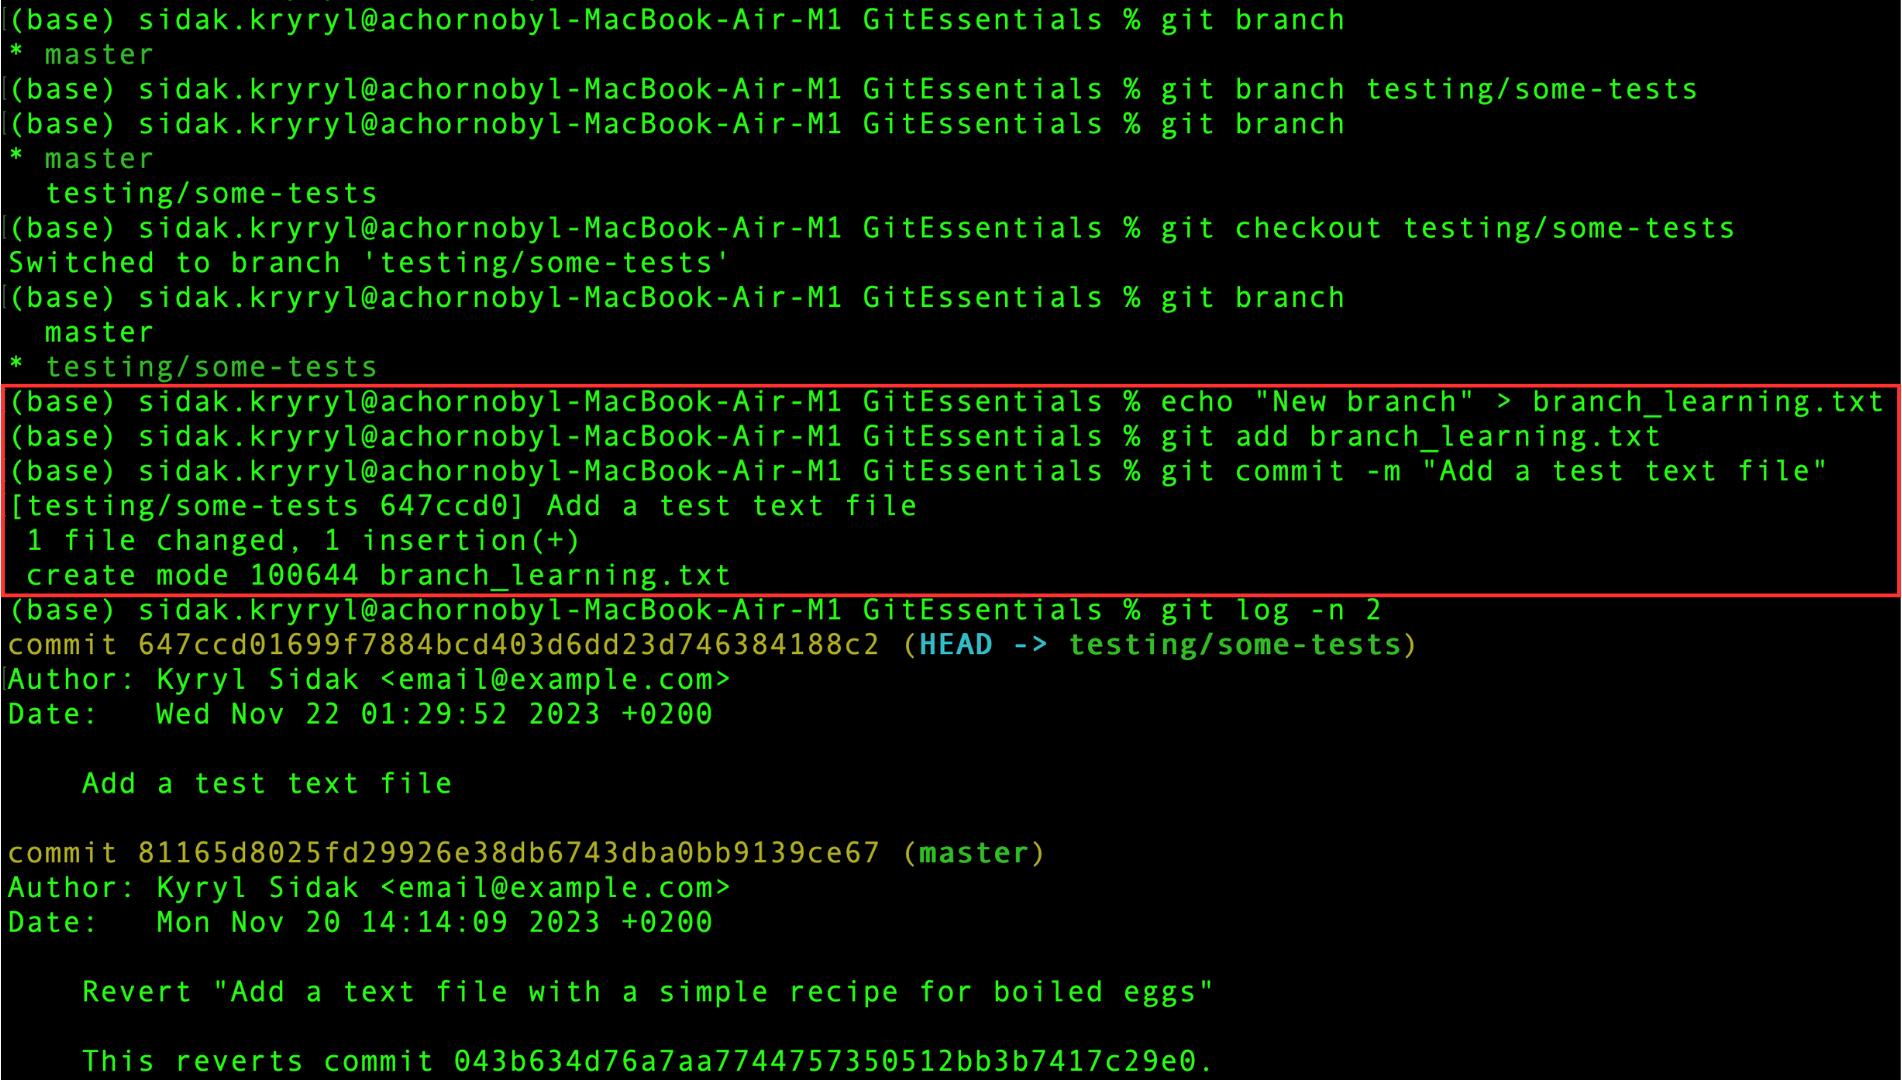
The commit is successful, so now check the two most recent commits in the commit history:
git log -n 2
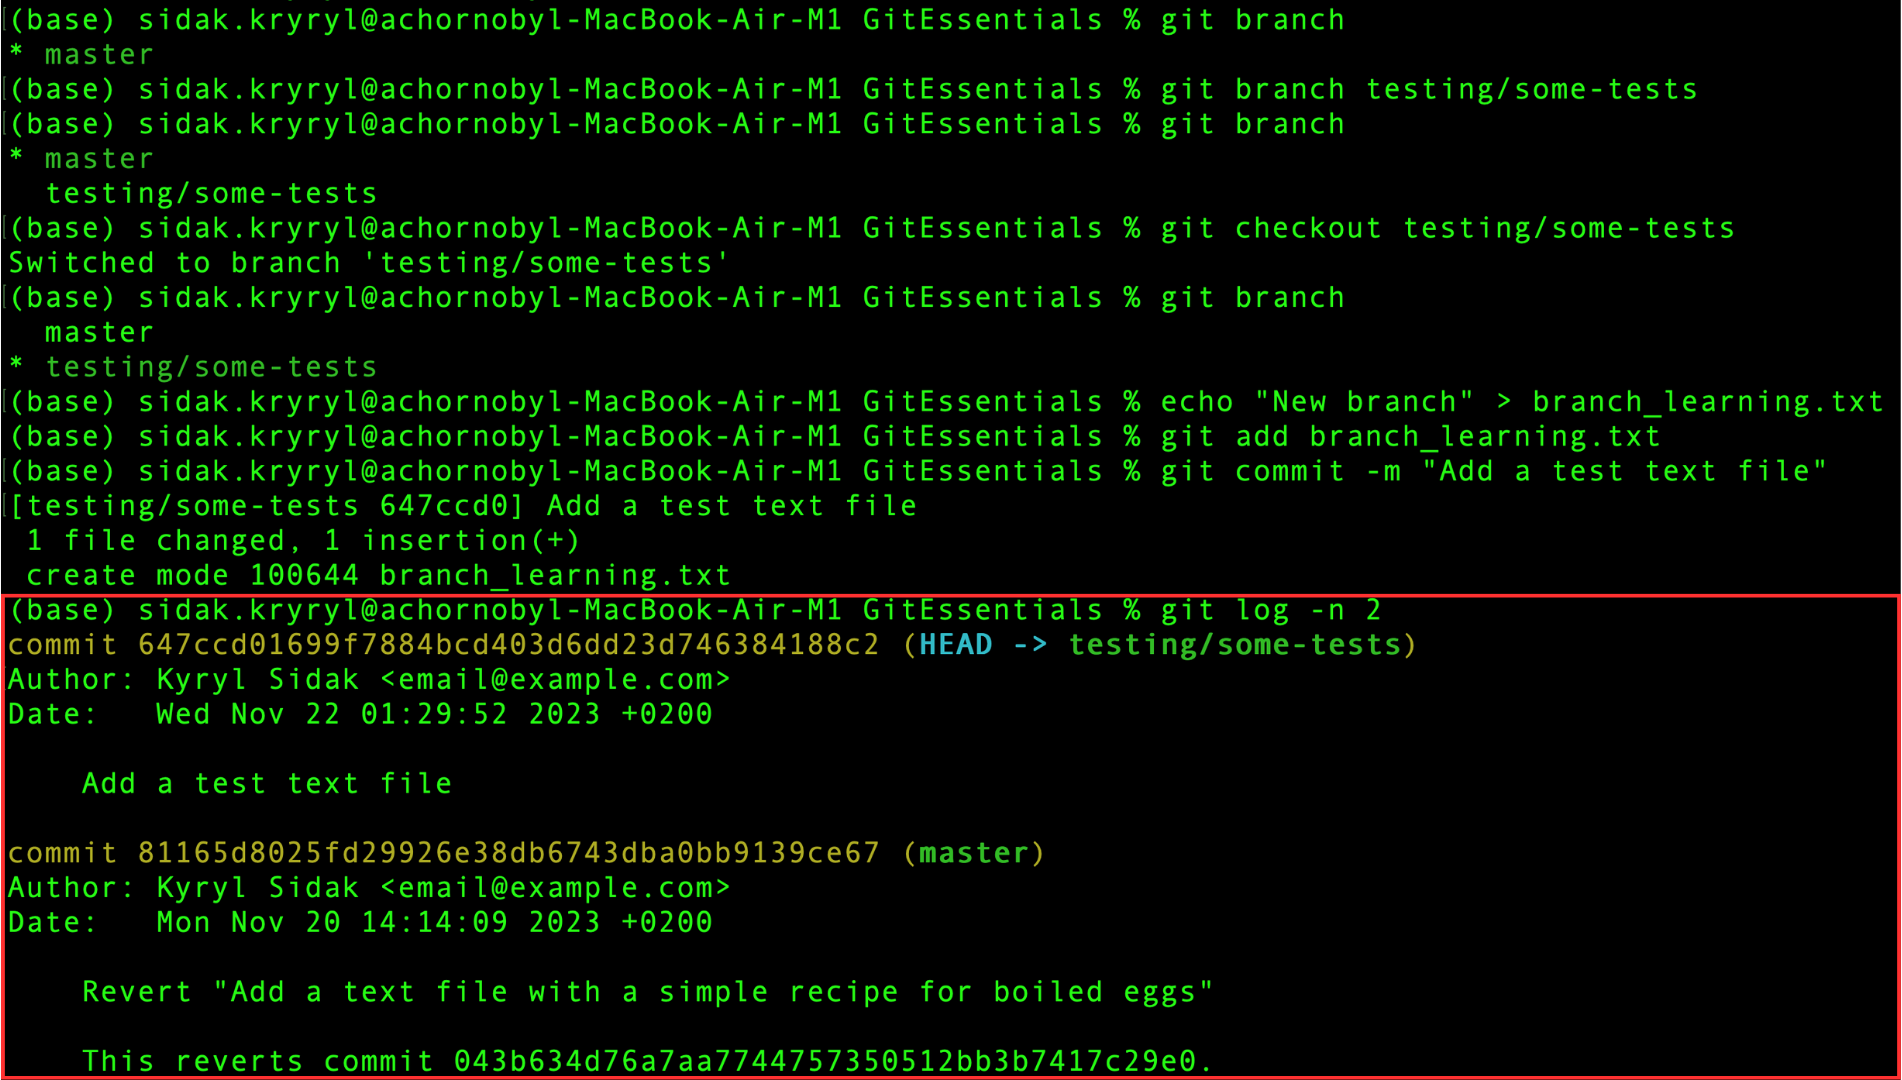
Since you are currently on the testing/some-tests branch, it points to the latest commit (as does HEAD), while the master branch remains one commit behind.
Thanks for your feedback!
Ask AI
Ask AI

Ask anything or try one of the suggested questions to begin our chat
