Amazon Simple Storage Service Configuration
Swipe to show menu
Starting to learn AWS services should begin with the basics.
So, we'll start with a service like S3, which is used by everyone, all the time. Even the images I include in this course are stored on S3, as well as any media files, and sometimes code snippets or scripts that perform various tasks.
Amazon Simple Storage Service (Amazon S3) is a cloud storage service provided by Amazon Web Services (AWS) that offers high scalability, data availability, security, and performance. This means you can use S3 to store and retrieve any amount of data at any time and from anywhere on the internet.
Creating a Bucket
Now, let's begin working with S3. First, we need to access the service by clicking on the "Services" button in the top left corner. Then, at the bottom, you'll find the "Storage" section. After clicking on it, a menu will appear where you should select S3:
After that, we'll navigate to the menu where you can see a short video guide from Amazon, which will explain how to work with S3, along with a lot of other helpful information. You can watch it if you like, but right now, what we need is the "Create Bucket" button, which is shown in the screenshot below:
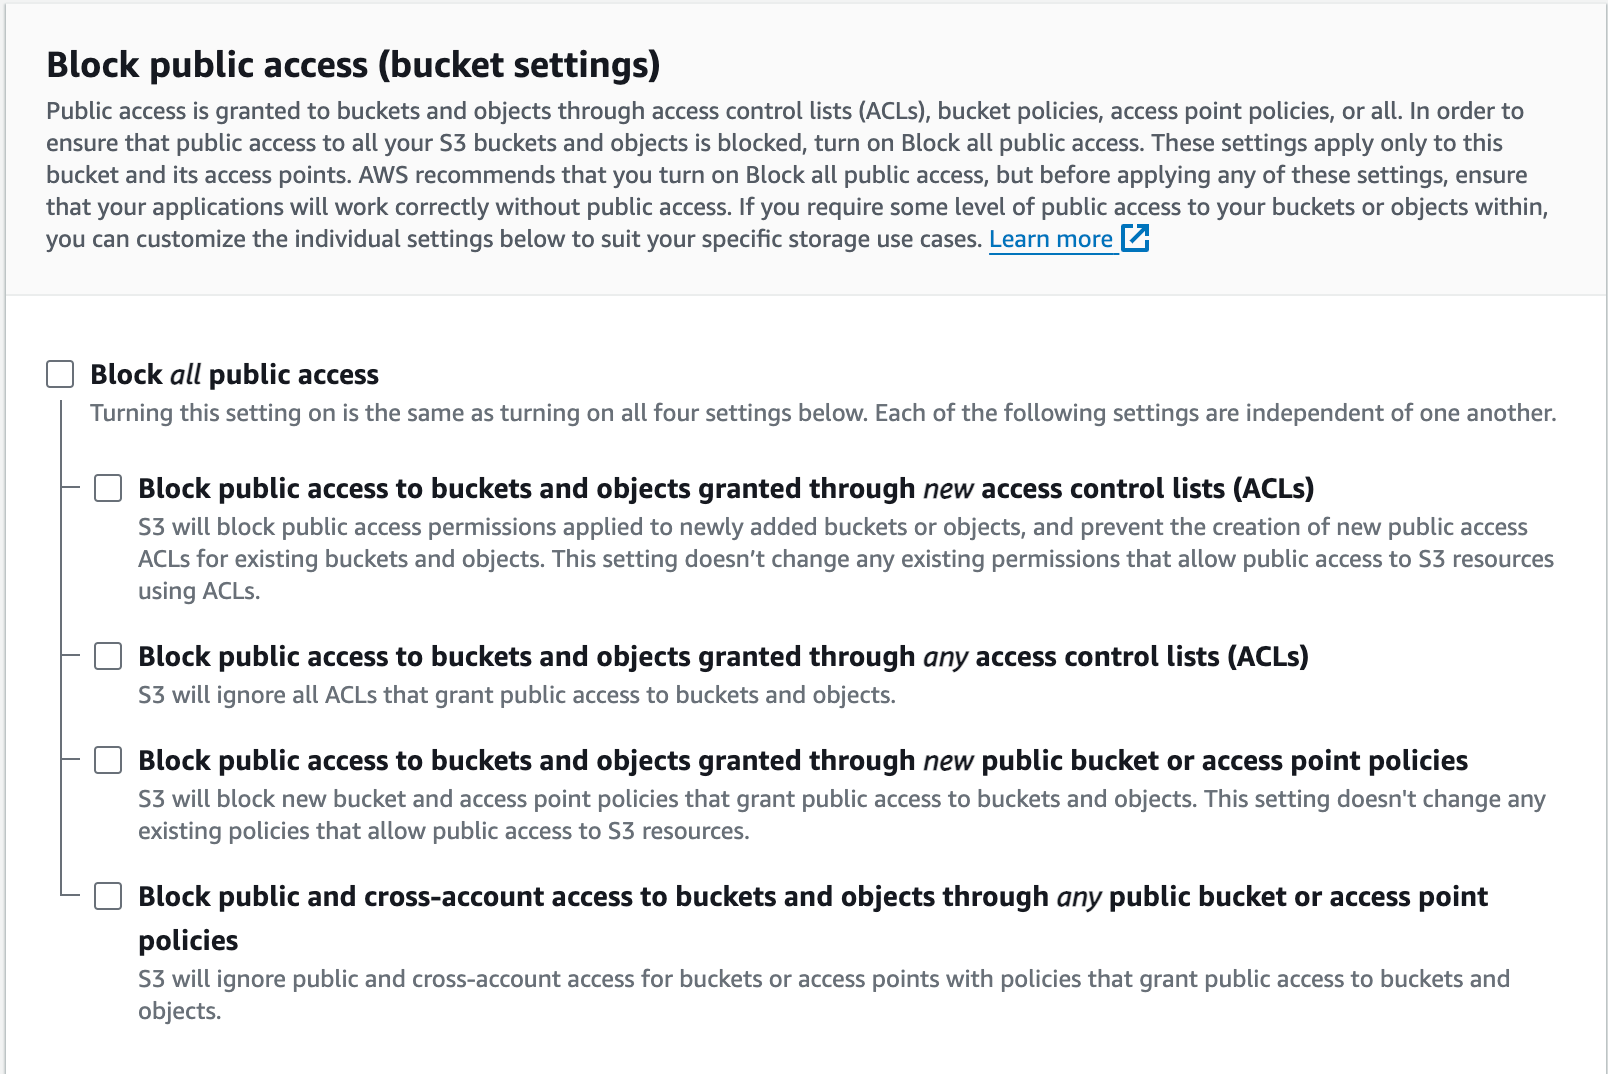
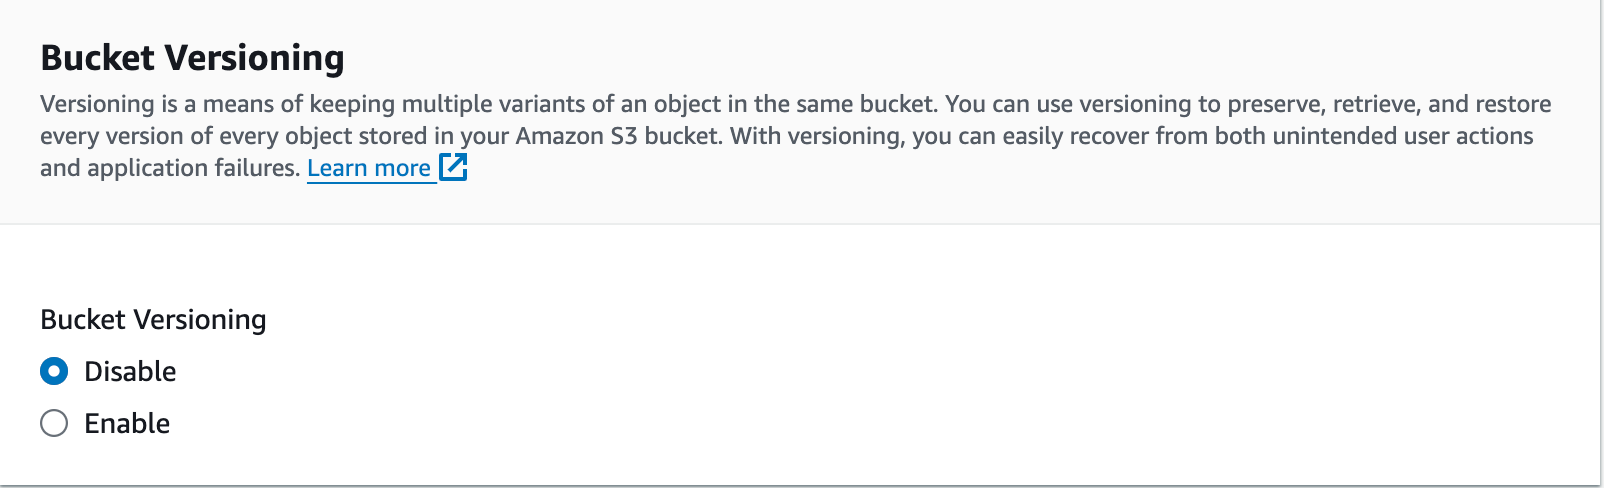
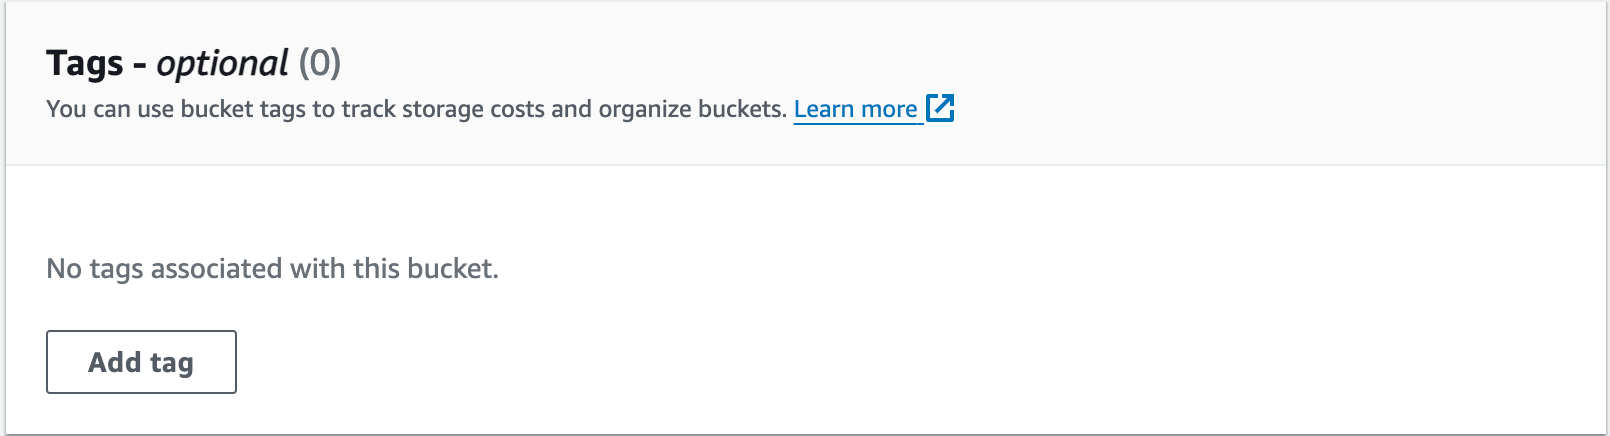
Now you need to configure your bucket. You can read about each of the settings on your own, or you can replicate my settings listed below.
I'm making the bucket public, meaning the media in this bucket will be accessible to everyone. Later, I'll configure it so that only GET requests are allowed, meaning users can only view and download media, not edit, create, or delete them.
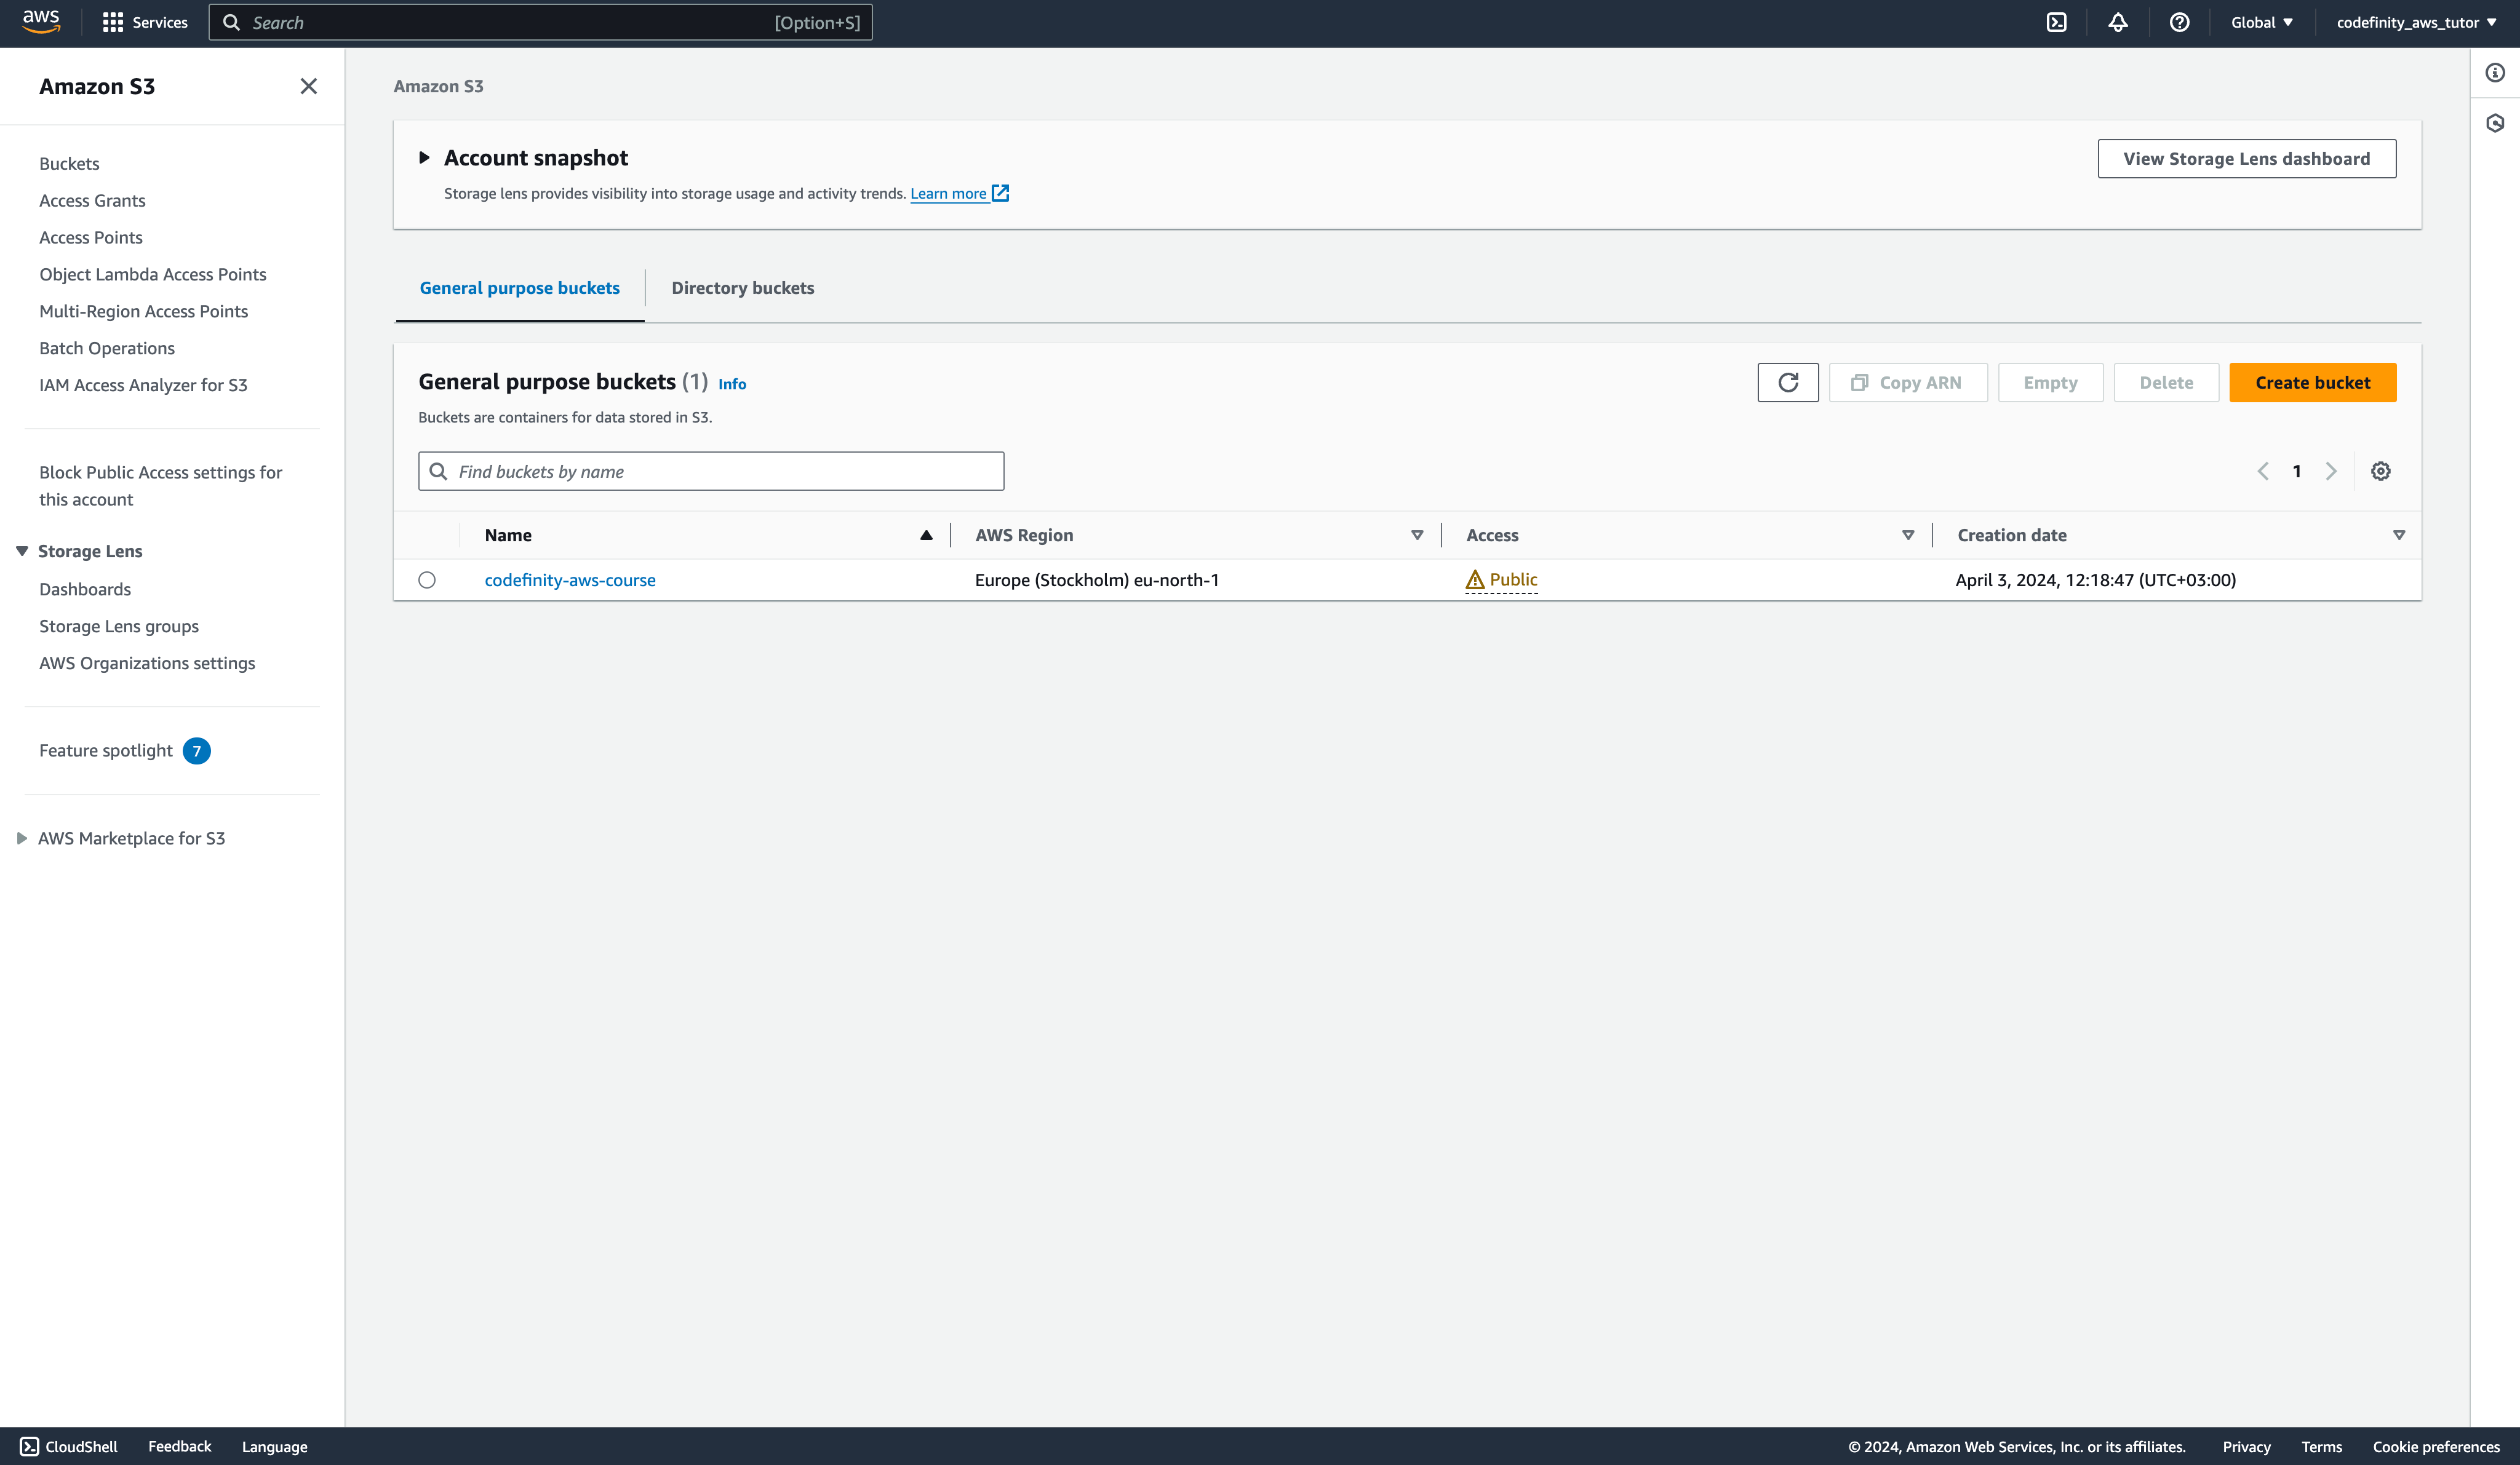
If you've done everything correctly, you should see a picture like this in front of you:
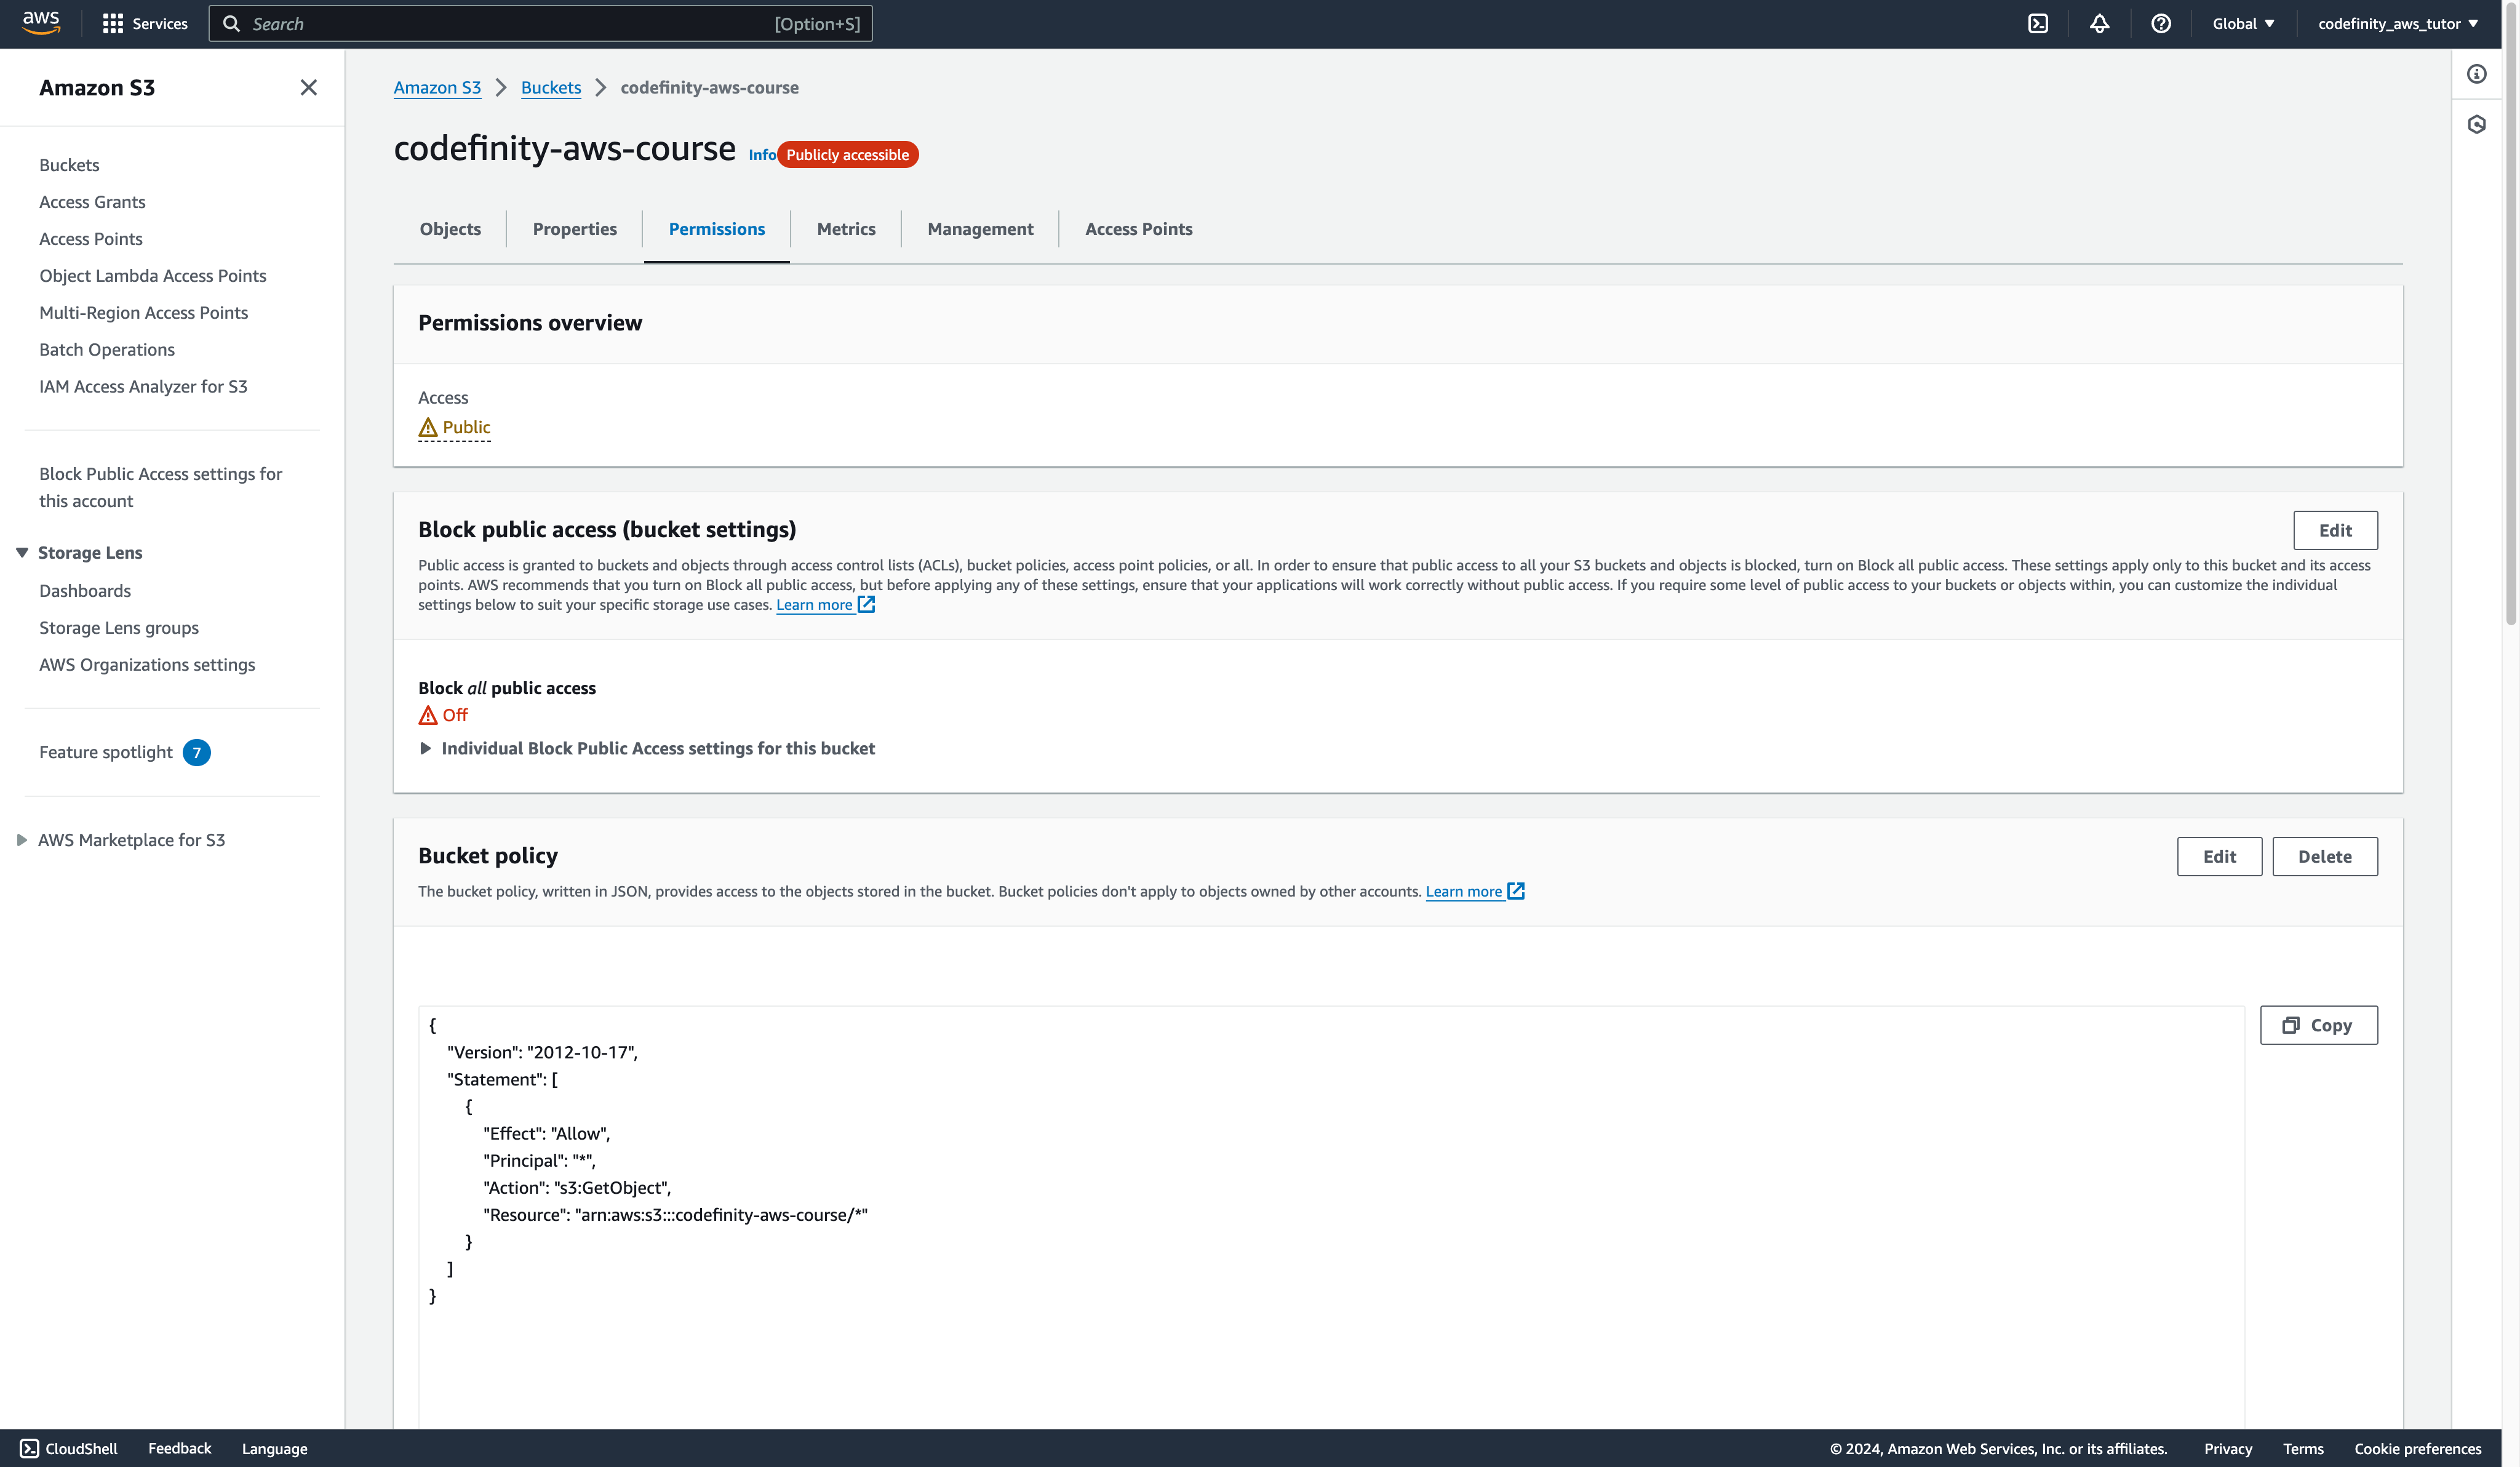
Now, let's configure our bucket so that users can only use GET requests, for example, to view the image on the screen or download it. To do this, we need to go to the bucket, navigate to the permissions section, and scroll down to the Bucket Policy section.
Then we need to add this code there:
{
    "Version": "2012-10-17",
    "Statement": [
        {
            "Effect": "Allow",
            "Principal": "*",
            "Action": "s3:GetObject",
            "Resource": "arn:aws:s3:::codefinity-aws-course/*"
        }
    ]
}
This JSON is an Amazon S3 access policy that defines permissions for accessing objects in the S3 bucket. In AWS, these policies are used to manage access to resources in cloud services. In this case, the policy describes the following permissions:
-
Version: this indicates the syntax version of the policy. "
2012-10-17" is the latest and most widely used version of policies; -
Statement: this is the main element of the policy, which contains an array of individual statements.
Each statement (in this case, one) contains:
-
Effect: determines whether the action is allowed or not. In this case,
Allowmeans the action is permitted; -
Principal: specifies who receives the permission. Here,
*means the permission is granted to all users; -
Action: specifies which action is allowed. "
s3:GetObject" allows users to access (download) objects (files) in the S3 bucket; -
Resource: indicates the specific resource to which the permissions apply. "
arn:aws:s3:::codefinity-aws-course/*" refers to all objects (indicated by the asterisk*) in the S3 bucket named "codefinity-aws-course".
Disregard any warnings from AWS as this is a learning exercise. The files in the bucket need to be public so we can clearly observe how storage operates through the code.
Your permission file should look like this:
Great, you've successfully created a bucket and configured it to meet our needs. In the upcoming chapters, we'll learn how to upload media files into it and use it in our code and applications.
Thanks for your feedback!
Ask AI
Ask AI

Ask anything or try one of the suggested questions to begin our chat
