Database Creation and Configuration
Swipe to show menu
It's move on to creating a database instance in AWS RDS, where we can configure the necessary settings for storage, security, and connectivity.
To do this, go to the RDS service and click on the "Create database" button:
You'll see a large menu with a variety of settings. Let's go through them one by one.
Choose the Standard method for creating a database instance:

Next, we select the DBMS we'll be using, which, in our case, is MySQL:
We're using MySQL because it's easy to learn and straightforward to set up and use. If you have other preferences, such as PostgreSQL, feel free to choose what works best for you.
We choose the desired version of MySQL. If you don't require a specific version, you can simply go with the default selection.
Next, since we're using the free tier, we need to select the template for the free tier:
Now we need to provide a name for our database and set up the username and password that will be used to connect to the database. In my case, I set the name as root for the main user, along with a password and a clear name for the database.
For the Instance configuration and Storage sections, we don't need to make any changes because the template automatically provides the required details for us. Since we're on the free tier, we're limited in resources and don't have much flexibility.

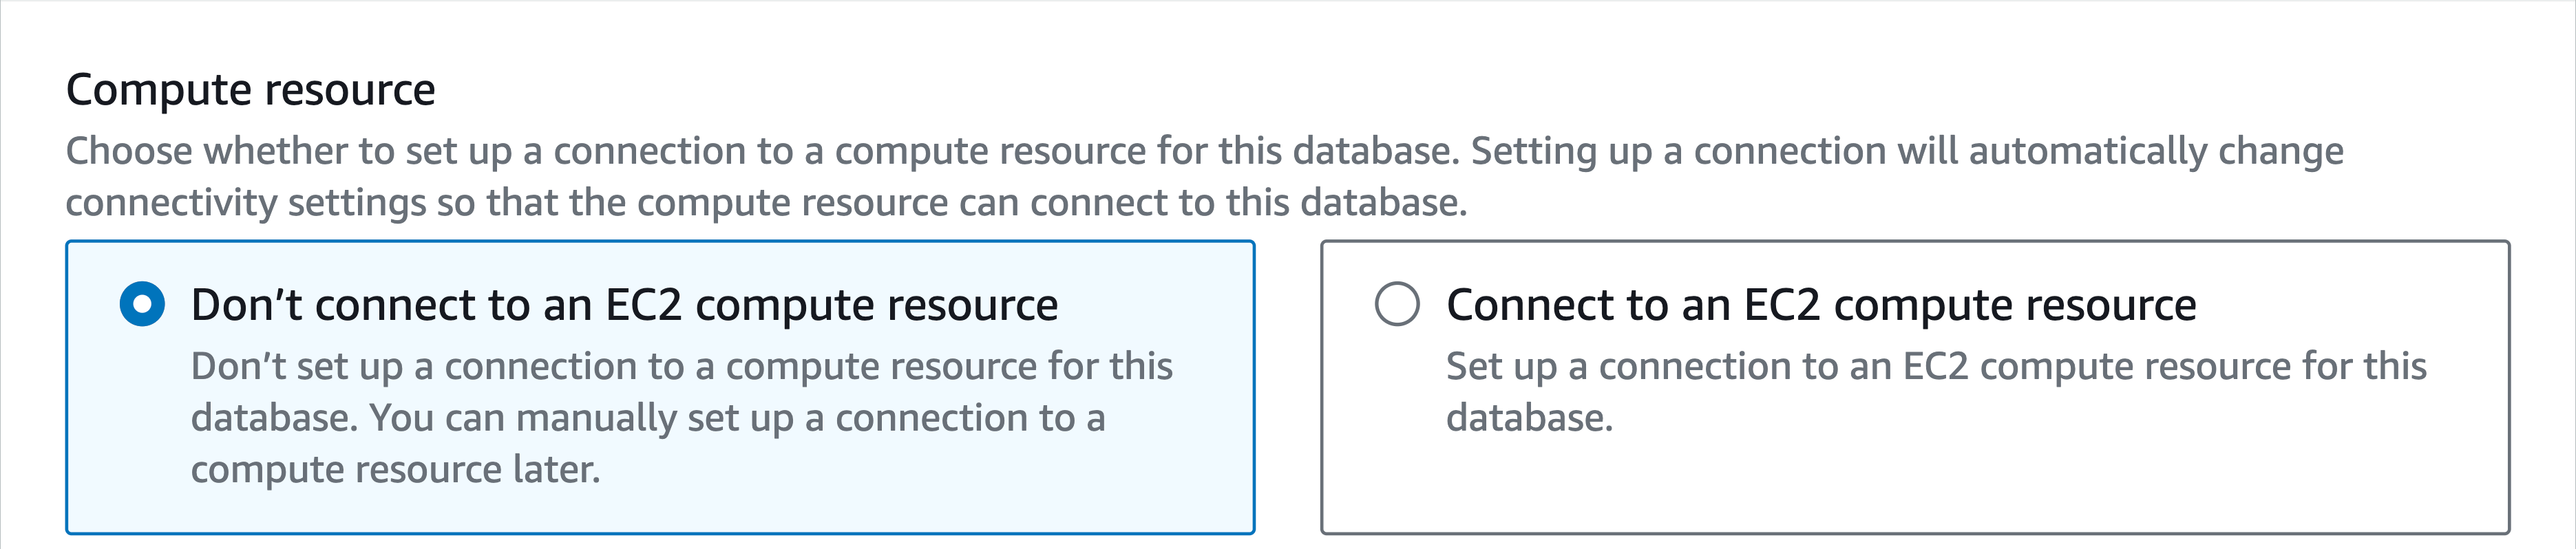
After that, you'll come across a large section on connectivity. There are several key points to consider here. For this chapter, we won't be linking the database to EC2, so choose the option Don't connect to an EC2 compute resource.
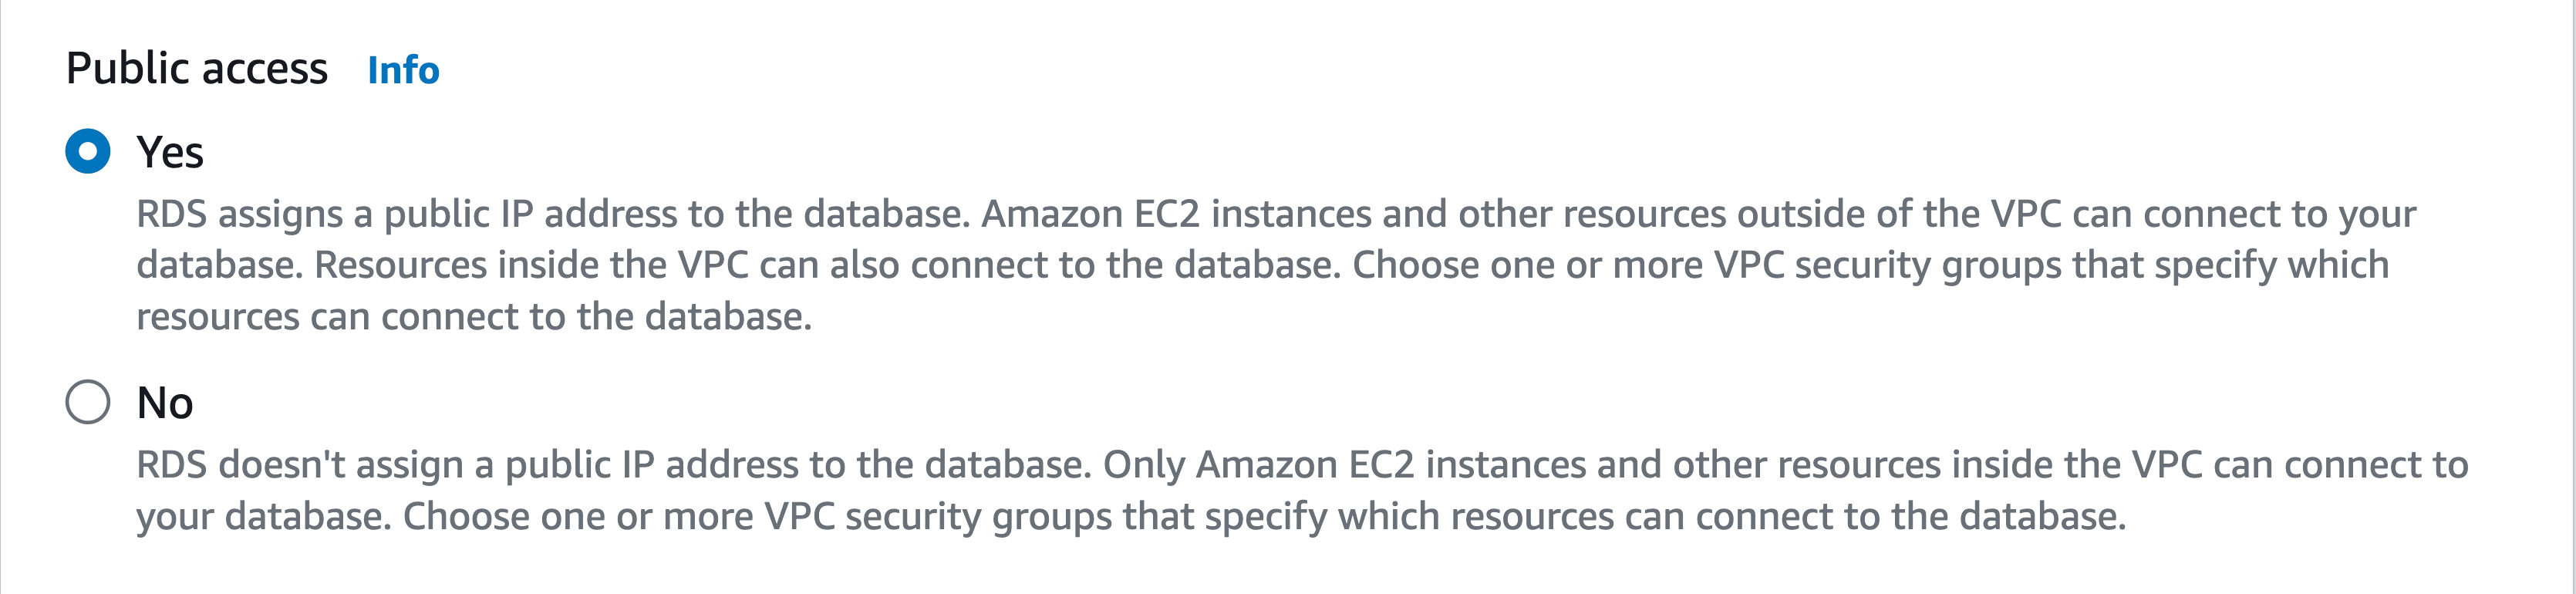
A crucial step is enabling the database's public accessibility so we can connect to it from our workbench without needing a complicated SSL key connection.
SSL (Secure Sockets Layer) is a security technology that creates an encrypted connection between a web server and a user's browser. The goal of SSL is to provide confidentiality, authentication, and data integrity in Internet communications.
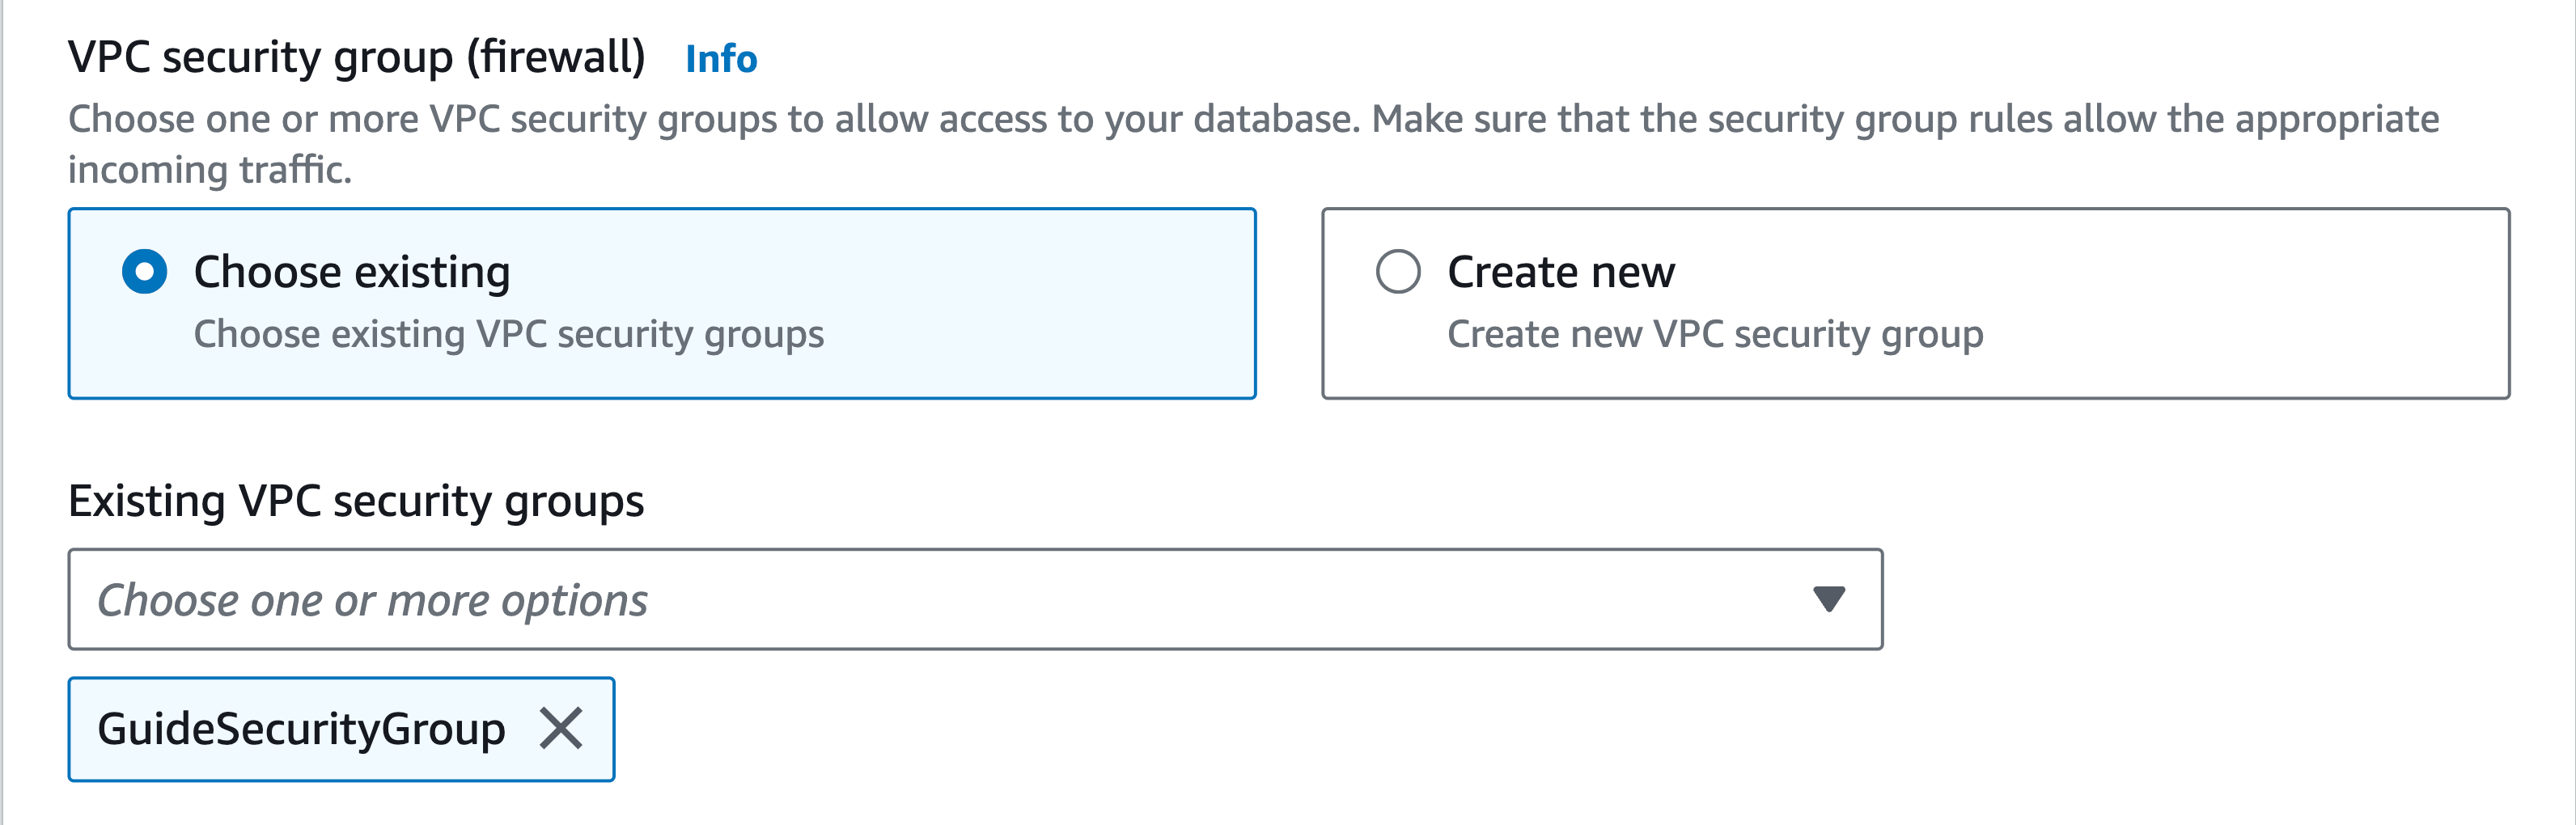
As we near the end, we select the security group that we created for our EC2 instance. After that, we'll also be updating this security group to suit our needs.
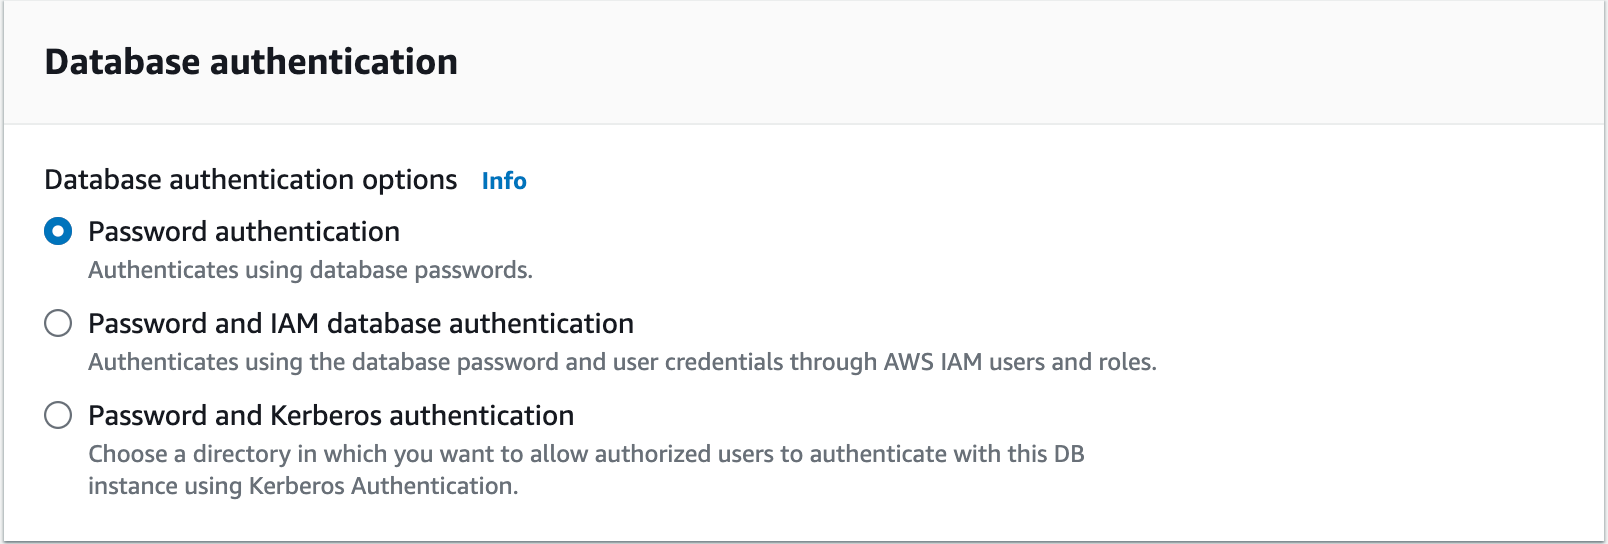
The final point we should focus on is Database authentication. Here, we need to choose Password authentication because it's the easiest and most straightforward type of authentication we currently need.
Click the button to create the database, and your database will be successfully created.
You might notice that there are many other settings we haven't covered. Right now, we don't need all these settings, as they are meant for more complex applications and development, and we will address them if necessary.
Thanks for your feedback!
Ask AI
Ask AI

Ask anything or try one of the suggested questions to begin our chat
Database Creation and Configuration
It's move on to creating a database instance in AWS RDS, where we can configure the necessary settings for storage, security, and connectivity.
To do this, go to the RDS service and click on the "Create database" button:
You'll see a large menu with a variety of settings. Let's go through them one by one.
Choose the Standard method for creating a database instance:
Next, we select the DBMS we'll be using, which, in our case, is MySQL:
We're using MySQL because it's easy to learn and straightforward to set up and use. If you have other preferences, such as PostgreSQL, feel free to choose what works best for you.
We choose the desired version of MySQL. If you don't require a specific version, you can simply go with the default selection.
Next, since we're using the free tier, we need to select the template for the free tier:
Now we need to provide a name for our database and set up the username and password that will be used to connect to the database. In my case, I set the name as root for the main user, along with a password and a clear name for the database.
For the Instance configuration and Storage sections, we don't need to make any changes because the template automatically provides the required details for us. Since we're on the free tier, we're limited in resources and don't have much flexibility.
After that, you'll come across a large section on connectivity. There are several key points to consider here. For this chapter, we won't be linking the database to EC2, so choose the option Don't connect to an EC2 compute resource.
A crucial step is enabling the database's public accessibility so we can connect to it from our workbench without needing a complicated SSL key connection.
SSL (Secure Sockets Layer) is a security technology that creates an encrypted connection between a web server and a user's browser. The goal of SSL is to provide confidentiality, authentication, and data integrity in Internet communications.
As we near the end, we select the security group that we created for our EC2 instance. After that, we'll also be updating this security group to suit our needs.
The final point we should focus on is Database authentication. Here, we need to choose Password authentication because it's the easiest and most straightforward type of authentication we currently need.
Click the button to create the database, and your database will be successfully created.
You might notice that there are many other settings we haven't covered. Right now, we don't need all these settings, as they are meant for more complex applications and development, and we will address them if necessary.
Thanks for your feedback!
