Курси по темі
Всі курсиGuide to Installing Kubernetes on Windows and Mac
A beginner-friendly guide to getting Kubernetes up and running on your computer.
by Eugene Obiedkov
Full Stack Developer
Aug, 2025・
6 min read

Kubernetes (K8s) is a powerful container management platform that automates the deployment, scaling, and management of containerized applications. For developers and DevOps engineers, Kubernetes is essential for running applications in a distributed environment efficiently.
In this guide, we'll show you how to install Kubernetes on Windows and macOS, and verify that it’s running correctly. Each step includes the commands for the respective platform and notes on where to add screenshots for clarity. This way, whether you’re using a Windows PC or a Mac, you’ll be able to set up Kubernetes locally and start deploying containerized applications quickly.
Before we get started, here’s a quick overview of what we’ll be installing and setting up:
- kubectl (Kubernetes CLI) – the command-line tool used to interact with Kubernetes;
- Kubernetes Cluster – enabled through Docker Desktop;
- Minikube – an additional tool that lets you run Kubernetes clusters locally for development and testing.
⚠️ You should already have Docker installed at this point. If you haven’t set it up yet, check out our guide on installing Docker first.
Common Steps for All Platforms
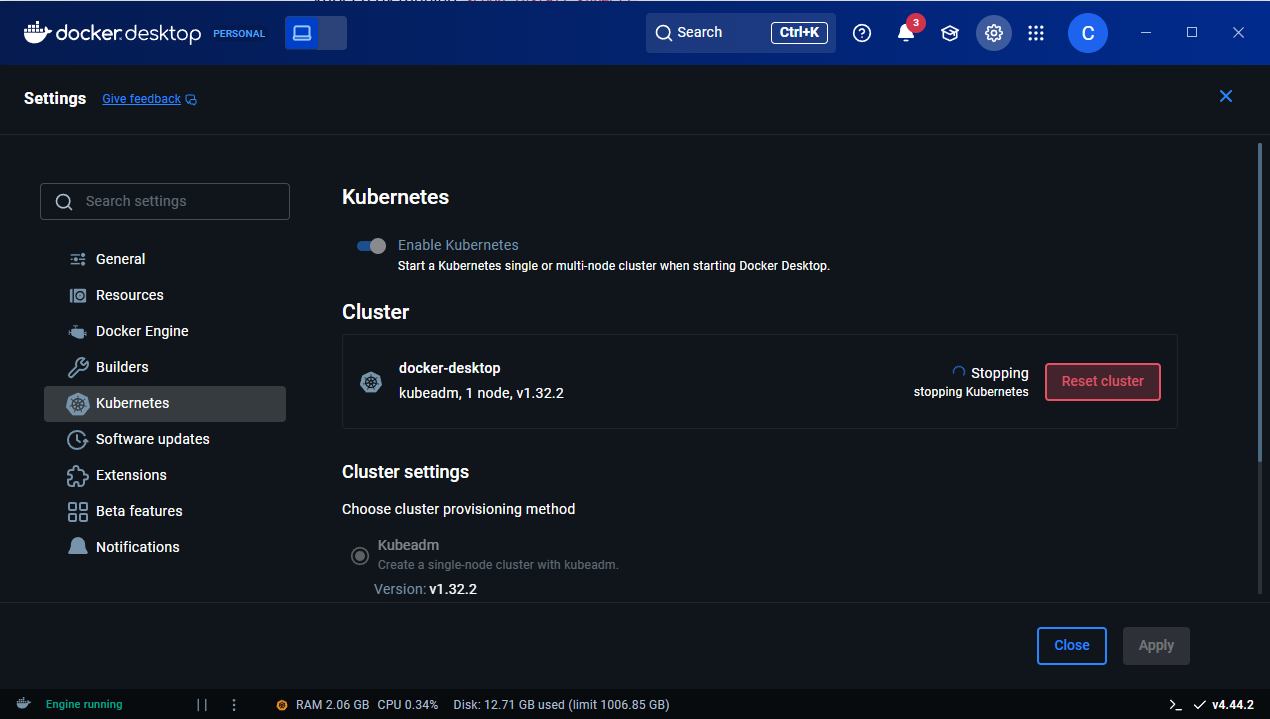
Open Docker Desktop, go to Settings > Kubernetes, and enable Kubernetes. Docker will install Kubernetes and start the cluster.

Installing Kubernetes on Windows
Before you can start working with Kubernetes on Windows, you need to set up the essential tools that allow your system to communicate with and manage your Kubernetes clusters.
Installing kubectl
Now that Kubernetes is enabled, we need a tool to interact with it.
This tool is called kubectl — it’s the command-line utility we’ll use to manage the cluster: deploy apps, check their status, and scale services.
On Windows, we’ll use PowerShell together with a package manager called Scoop.
First, open PowerShell and run irm get.scoop.sh | iex.
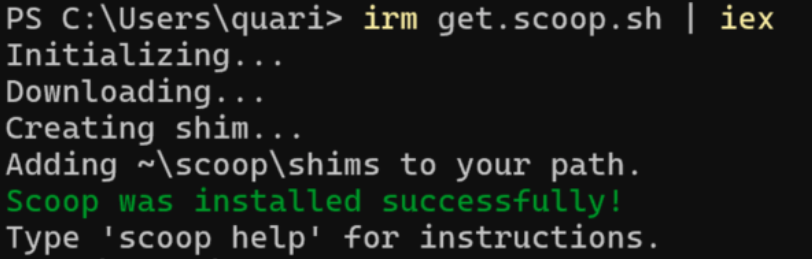
Once Scoop is installed, check it by typing scoop --version.

If you see a version number, that means Scoop is ready. Next, restart PowerShell and install kubectl by running scoop install kubectl.

Finally, confirm everything works by typing kubectl version --client.

If successful, the output should show something like Client Version: v1.x.x.
Testing Kubernetes
Start by creating a simple NGINX deployment. In PowerShell, type kubectl create deployment my-nginx --image=nginx.
Now expose the deployment so it’s accessible. Run kubectl expose deployment my-nginx --type=NodePort --port=80.
To make sure everything is running, check the available services with kubectl get services.
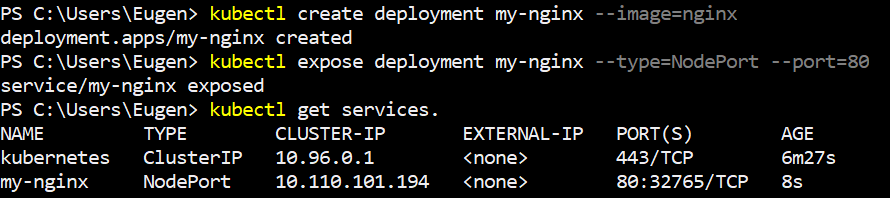
If you see my-nginx listed with a NodePort, it means Kubernetes is running successfully.
Installing Minikube
Now let’s install Minikube, which allows you to run a local Kubernetes cluster for testing and development.
In PowerShell, type scoop install minikube to download and install it.

Once installed, restart PowerShell and verify Minikube by running minikube version.

If everything is set up correctly, you should see the version number of Minikube installed.
Start Learning Coding today and boost your Career Potential

Installing Kubernetes on MacOS
On macOS, the easiest way to install Kubernetes tools is with Homebrew.
First, open Terminal and check if you already have Homebrew installed by typing brew --version.

/bin/bash -c "$(curl -fsSL https://raw.githubusercontent.com/Homebrew/install/HEAD/install.sh)"Install kubectl (Kubernetes CLI)
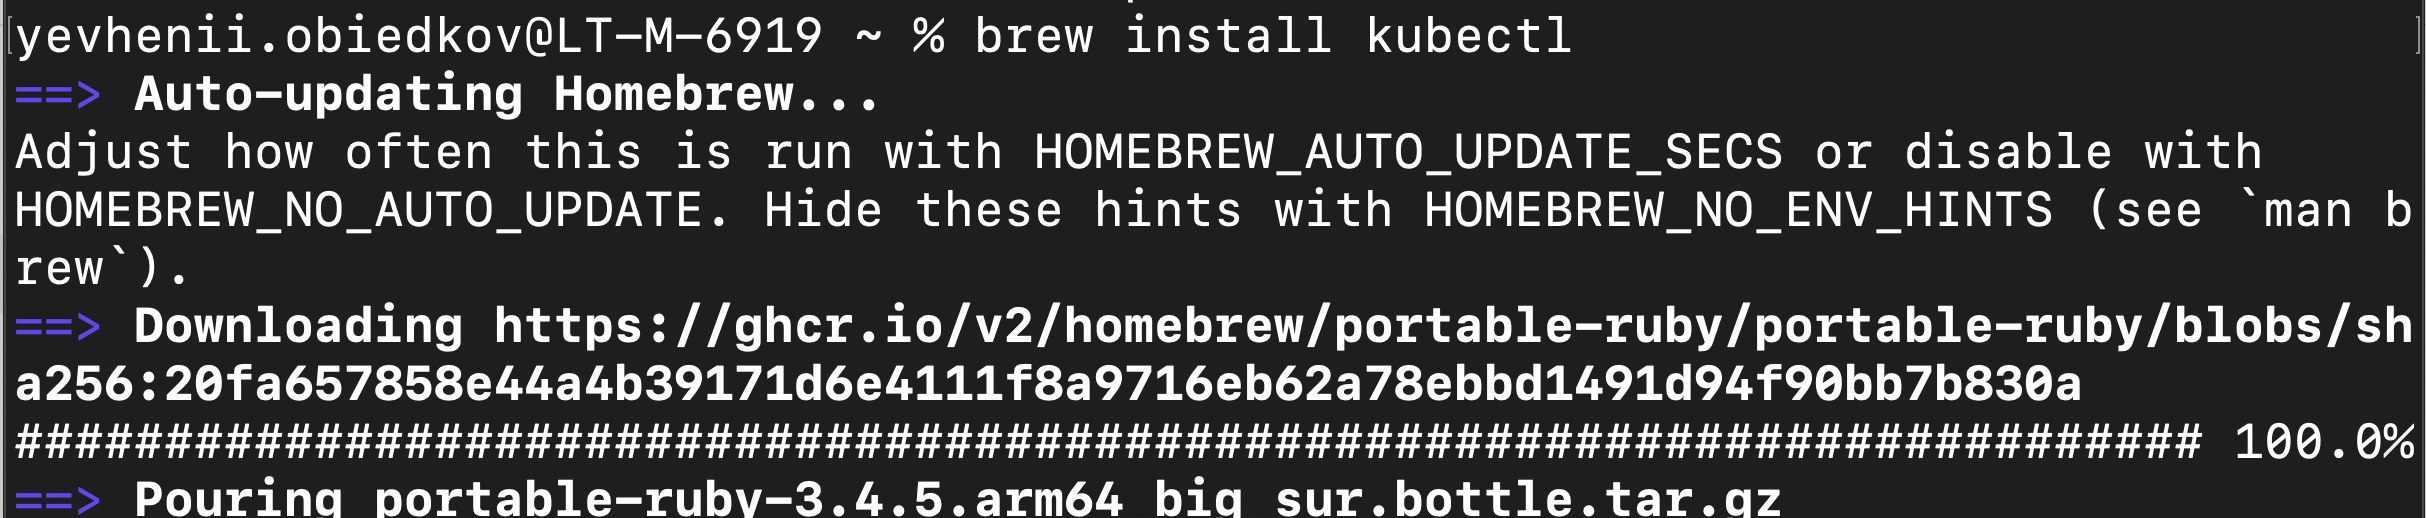
Next, we’ll install kubectl, the command-line tool you’ll use to interact with Kubernetes.
In Terminal, type brew install kubectl and wait for the installation to complete.
To confirm it worked, run kubectl version --client.

You should see something like: Client Version: v1.x.x
Install Minikube
Now let’s install Minikube, which allows you to run a local Kubernetes cluster for testing and development.
Type brew install minikube in Terminal and wait until it finishes.
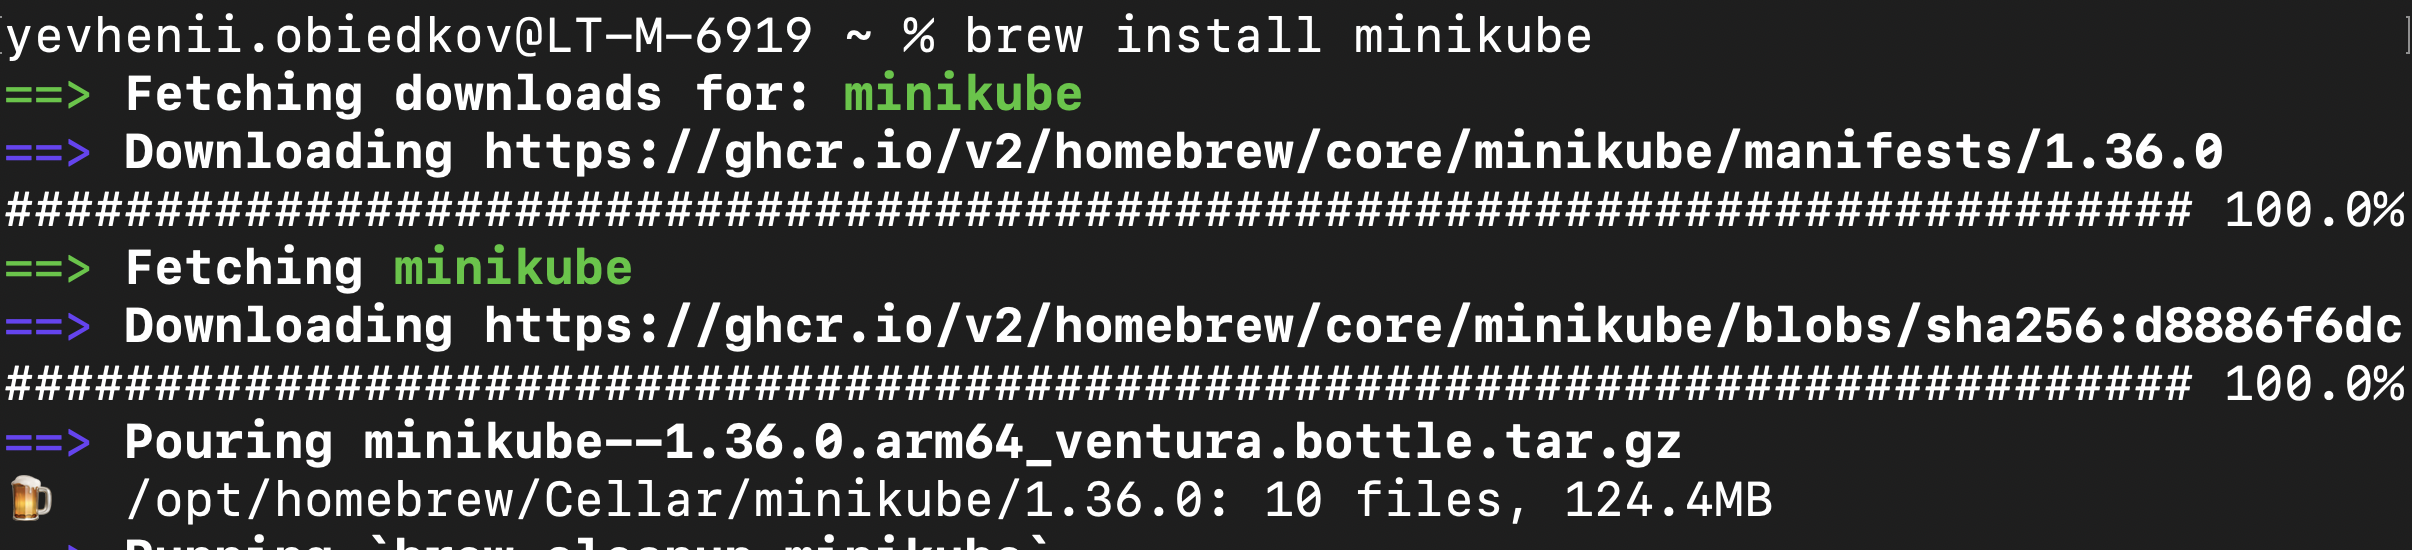
Once installed, verify by typing minikube version.

Testing Kubernetes
Finally, let’s make sure Kubernetes is working by deploying a test application.
In Terminal, run 3 commands:
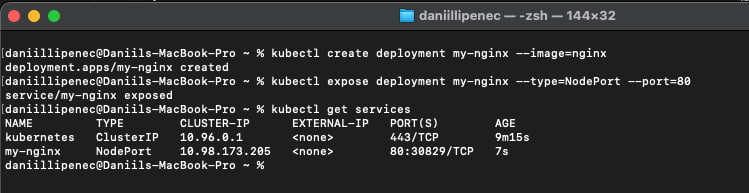
kubectl create deployment my-nginx --image=nginx to create an NGINX deployment.

kubectl expose deployment my-nginx --type=NodePort --port=80 to expose it.

kubectl get services
Conclusion
Congratulations! You’ve successfully set up Kubernetes on your computer, and your system is now ready to orchestrate and manage containerized applications. This is just the beginning, but from here you can start deploying clusters, scaling workloads, and exploring the power of Kubernetes in managing complex applications.
Ця стаття була корисною?
Поділитися:
Ця стаття була корисною?
Поділитися:
Курси по темі
Всі курсиExploring ARM and AMD x86 Processor Designs
Battle of Architectures
by Oleh Lohvyn
Backend Developer
Apr, 2024・5 min read

Installing Jenkins with Docker
Easily deploy Jenkins with Docker for a fast and isolated CI/CD environment.
by Eugene Obiedkov
Full Stack Developer
Aug, 2025・3 min read
Python Projects for Beginners
Python Projects
by Andrii Chornyi
Data Scientist, ML Engineer
Dec, 2023・8 min read

Зміст
